The Kossel Clear from Blue Eagle Labs (ABS Kit)
For the assembly of the Kossel Clear we took pictures and logged all the bags inside the box and the assembly of the printer began.
One thing we were concerned about was over tightening the screws which could very easily make the nice acrylic crack.
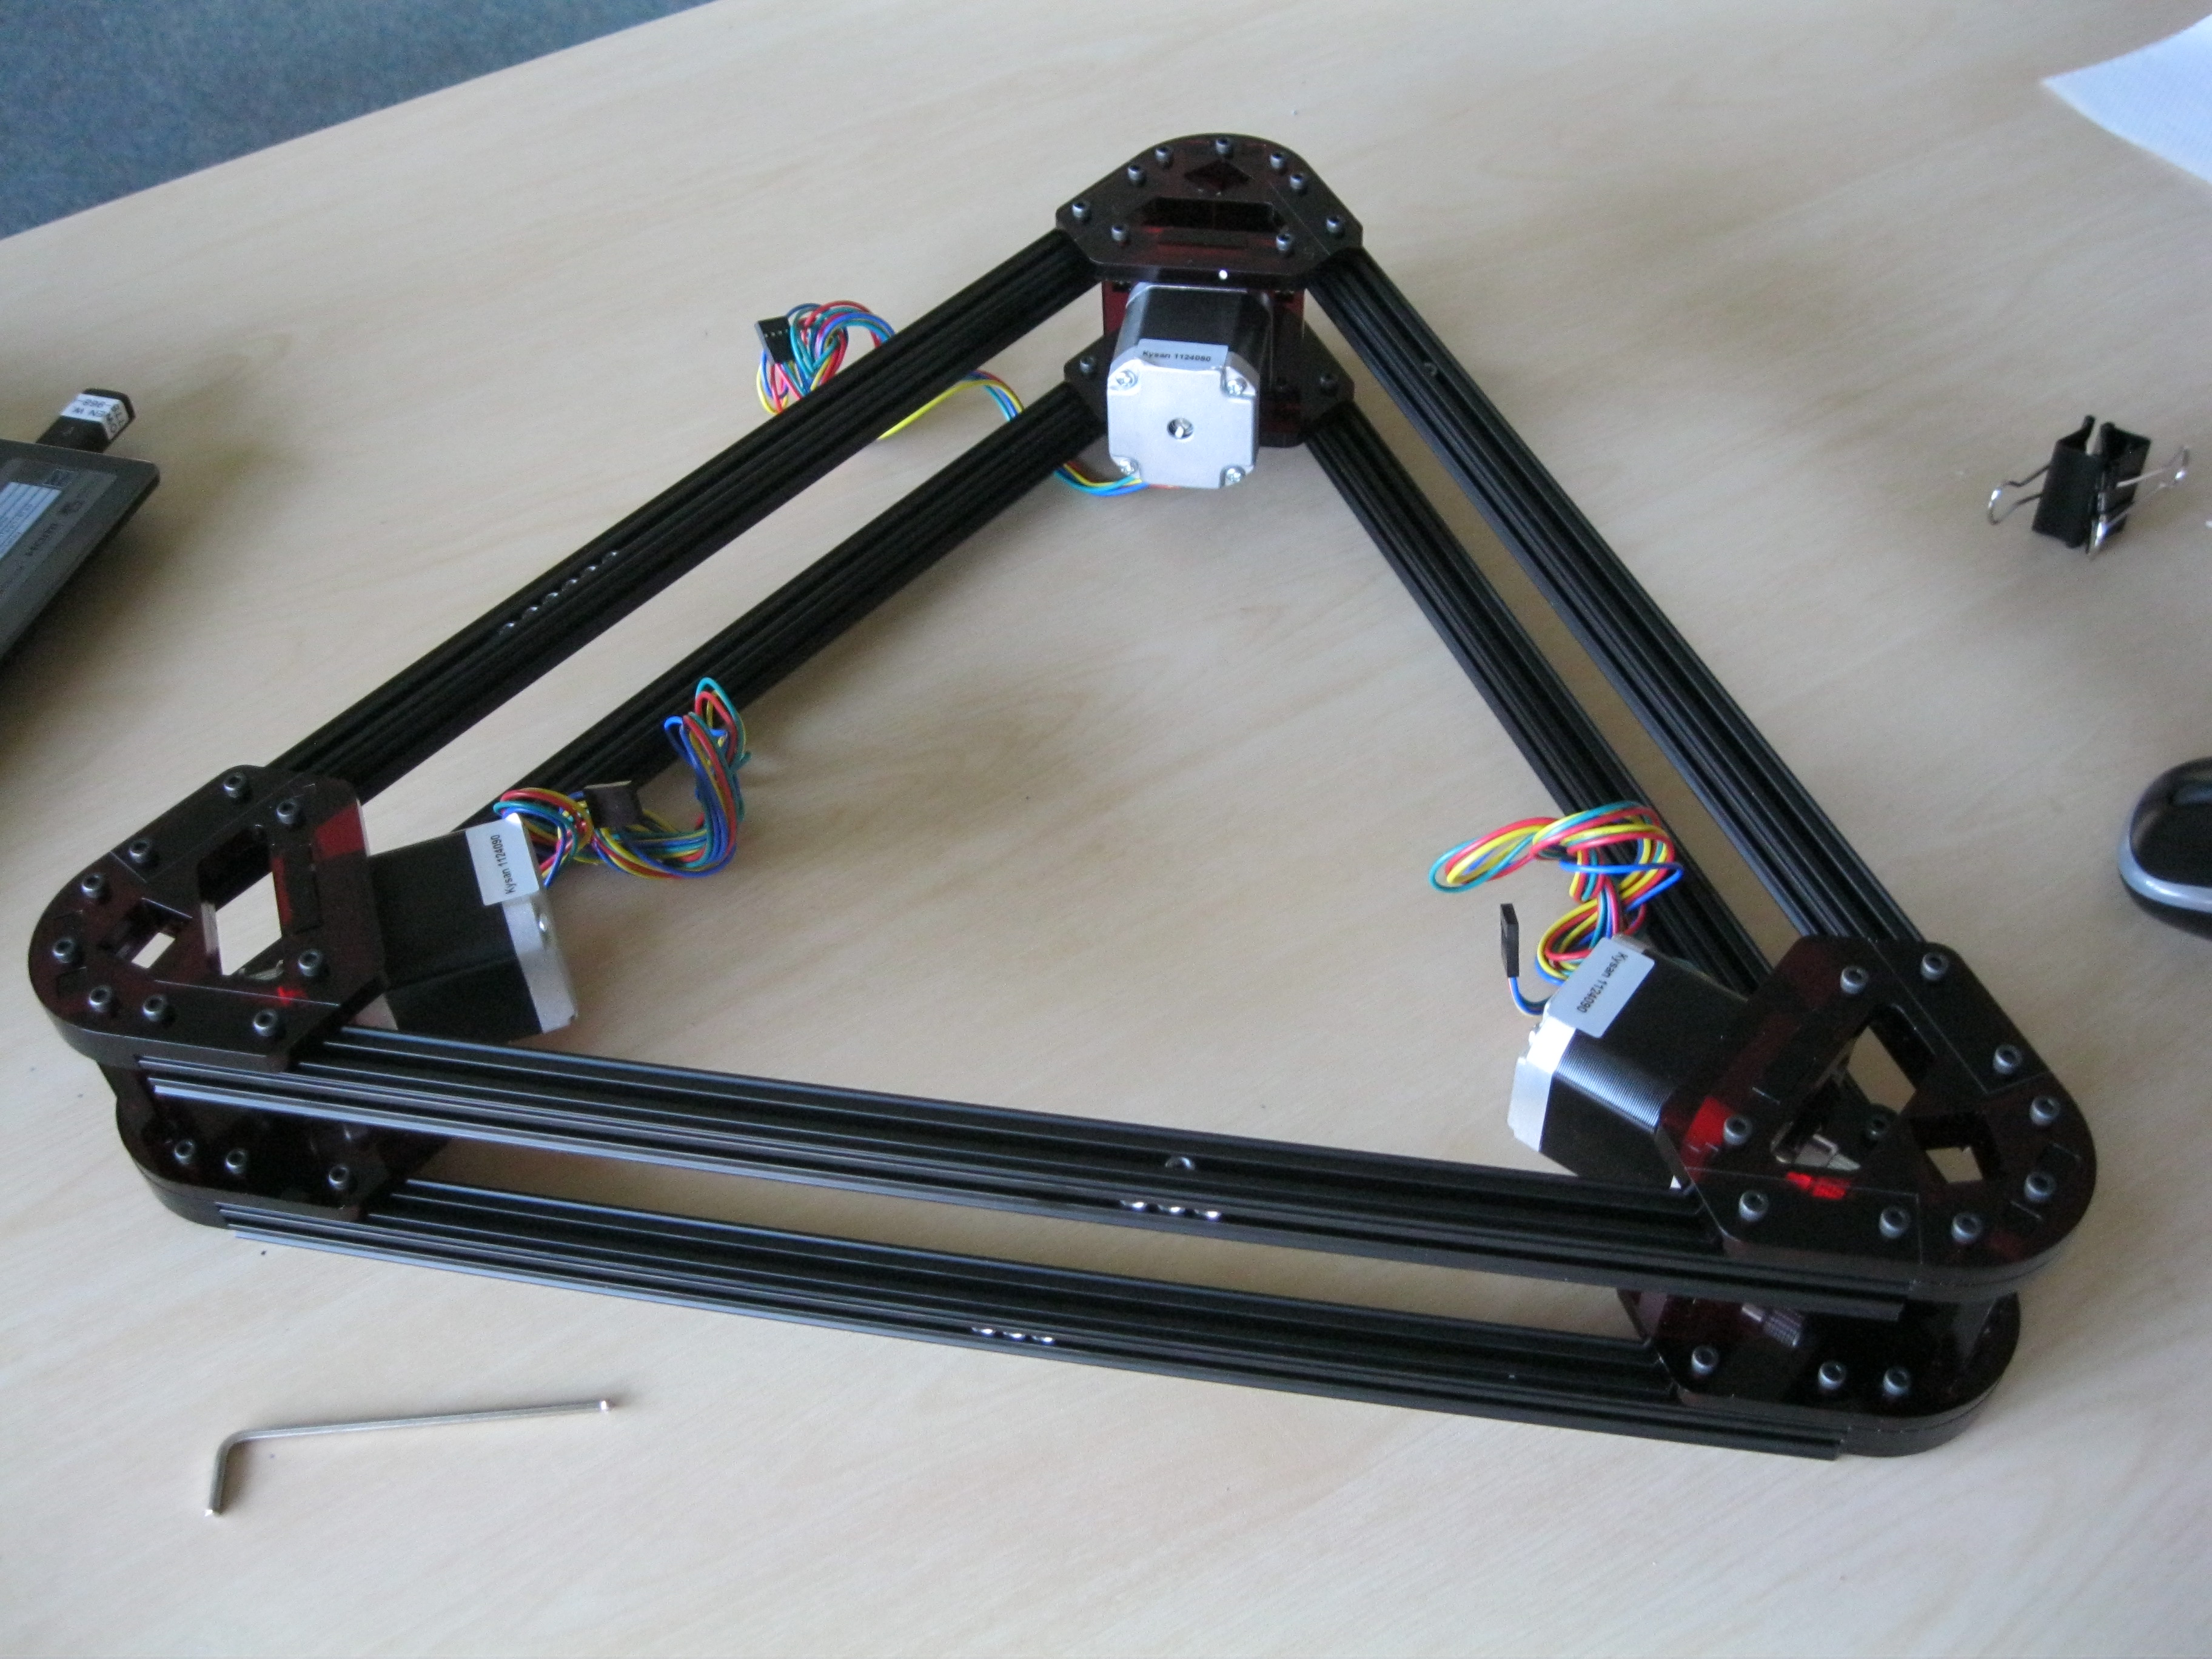
– Construction of 2 of the 3 bottom corners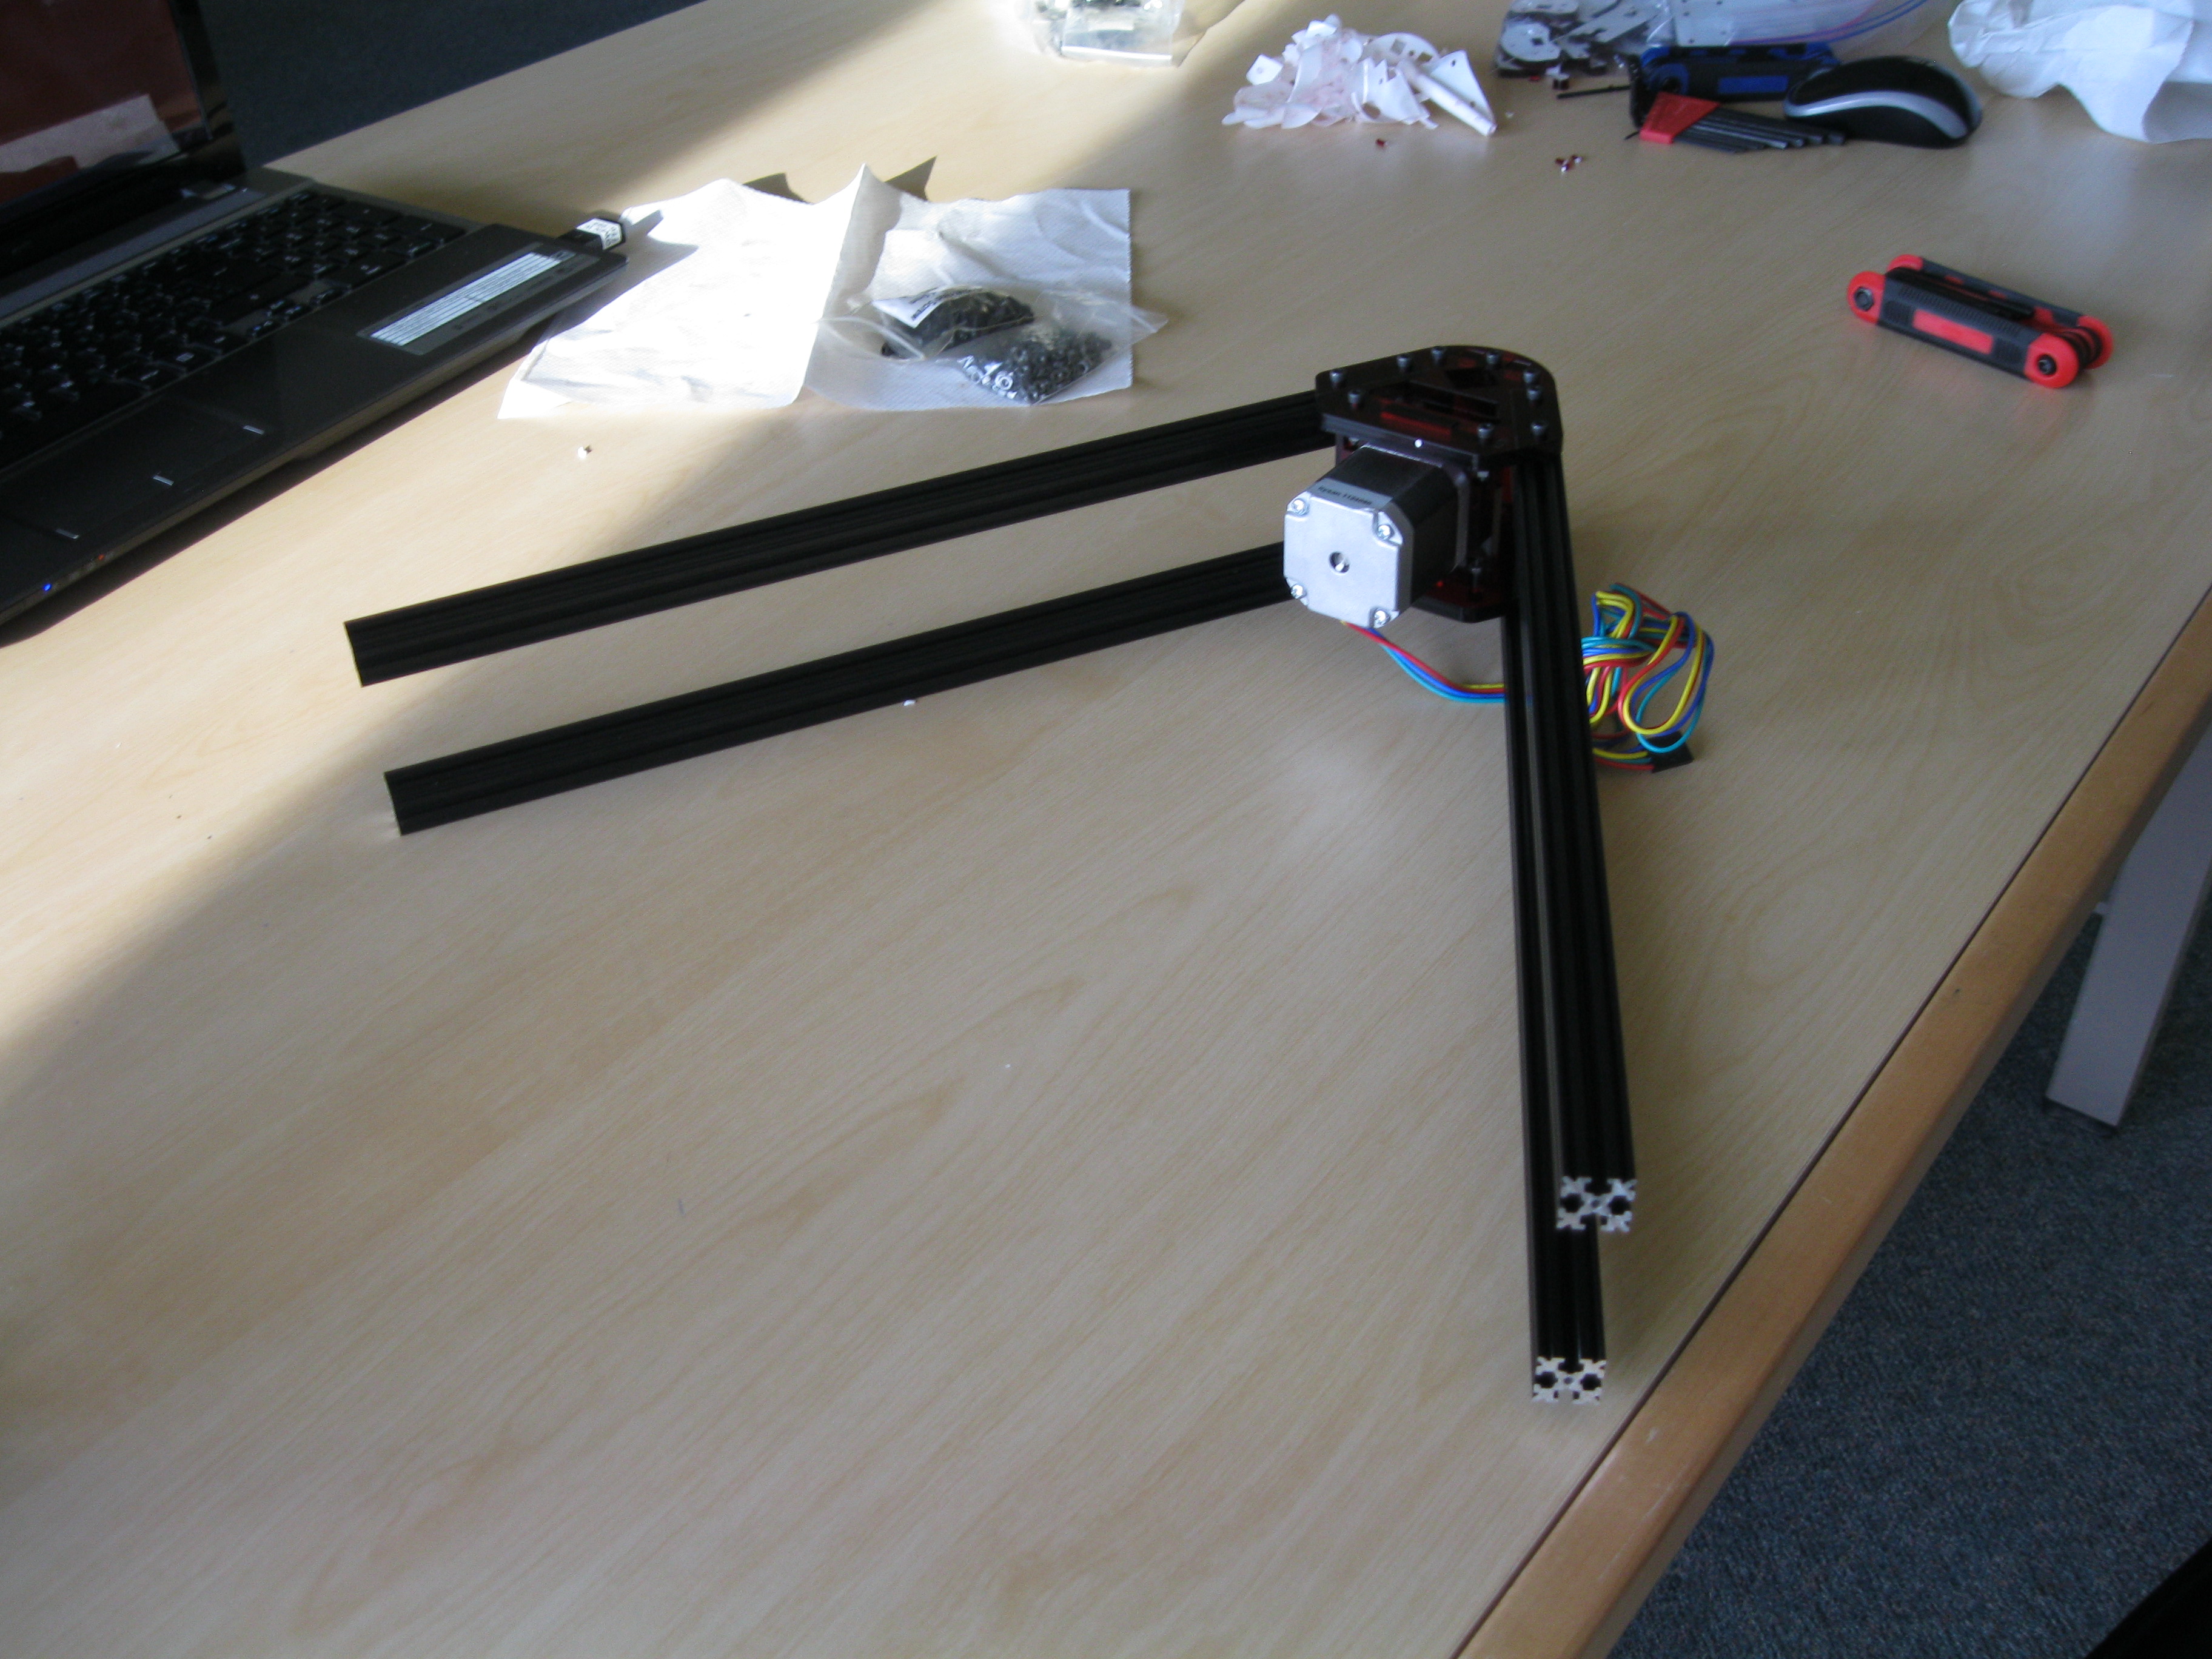
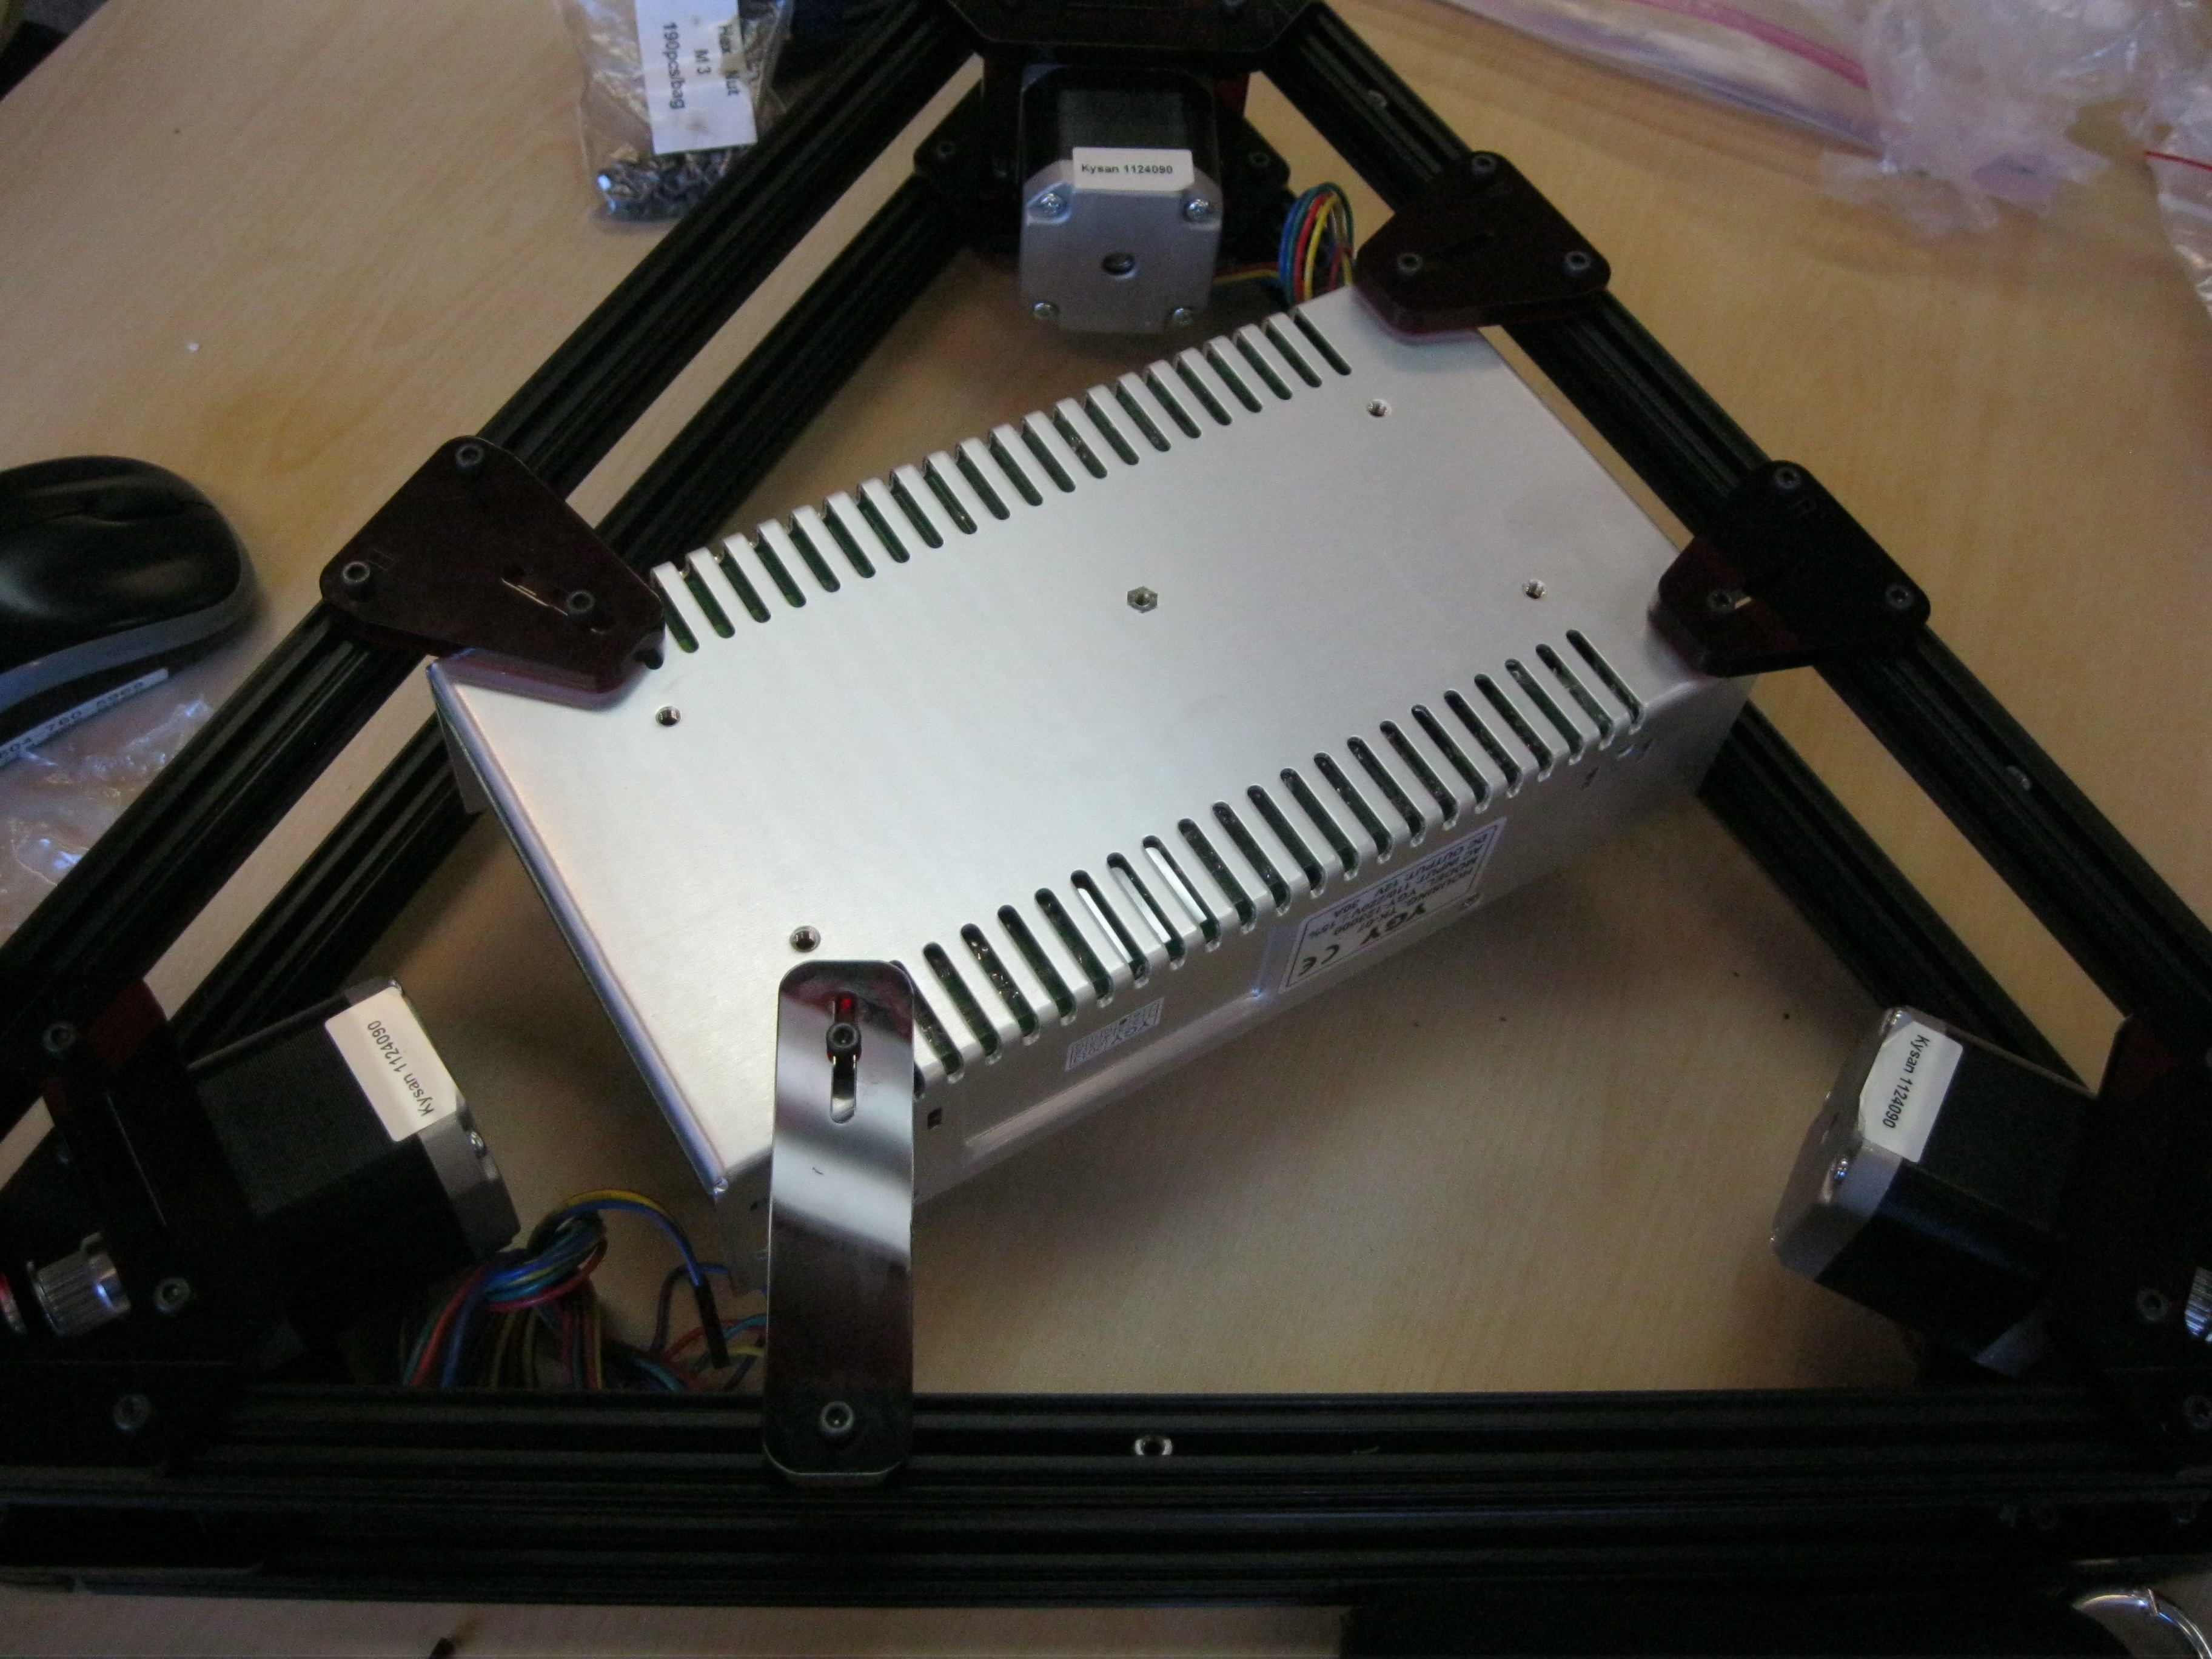
-Completed base
-Mounted power supply unit
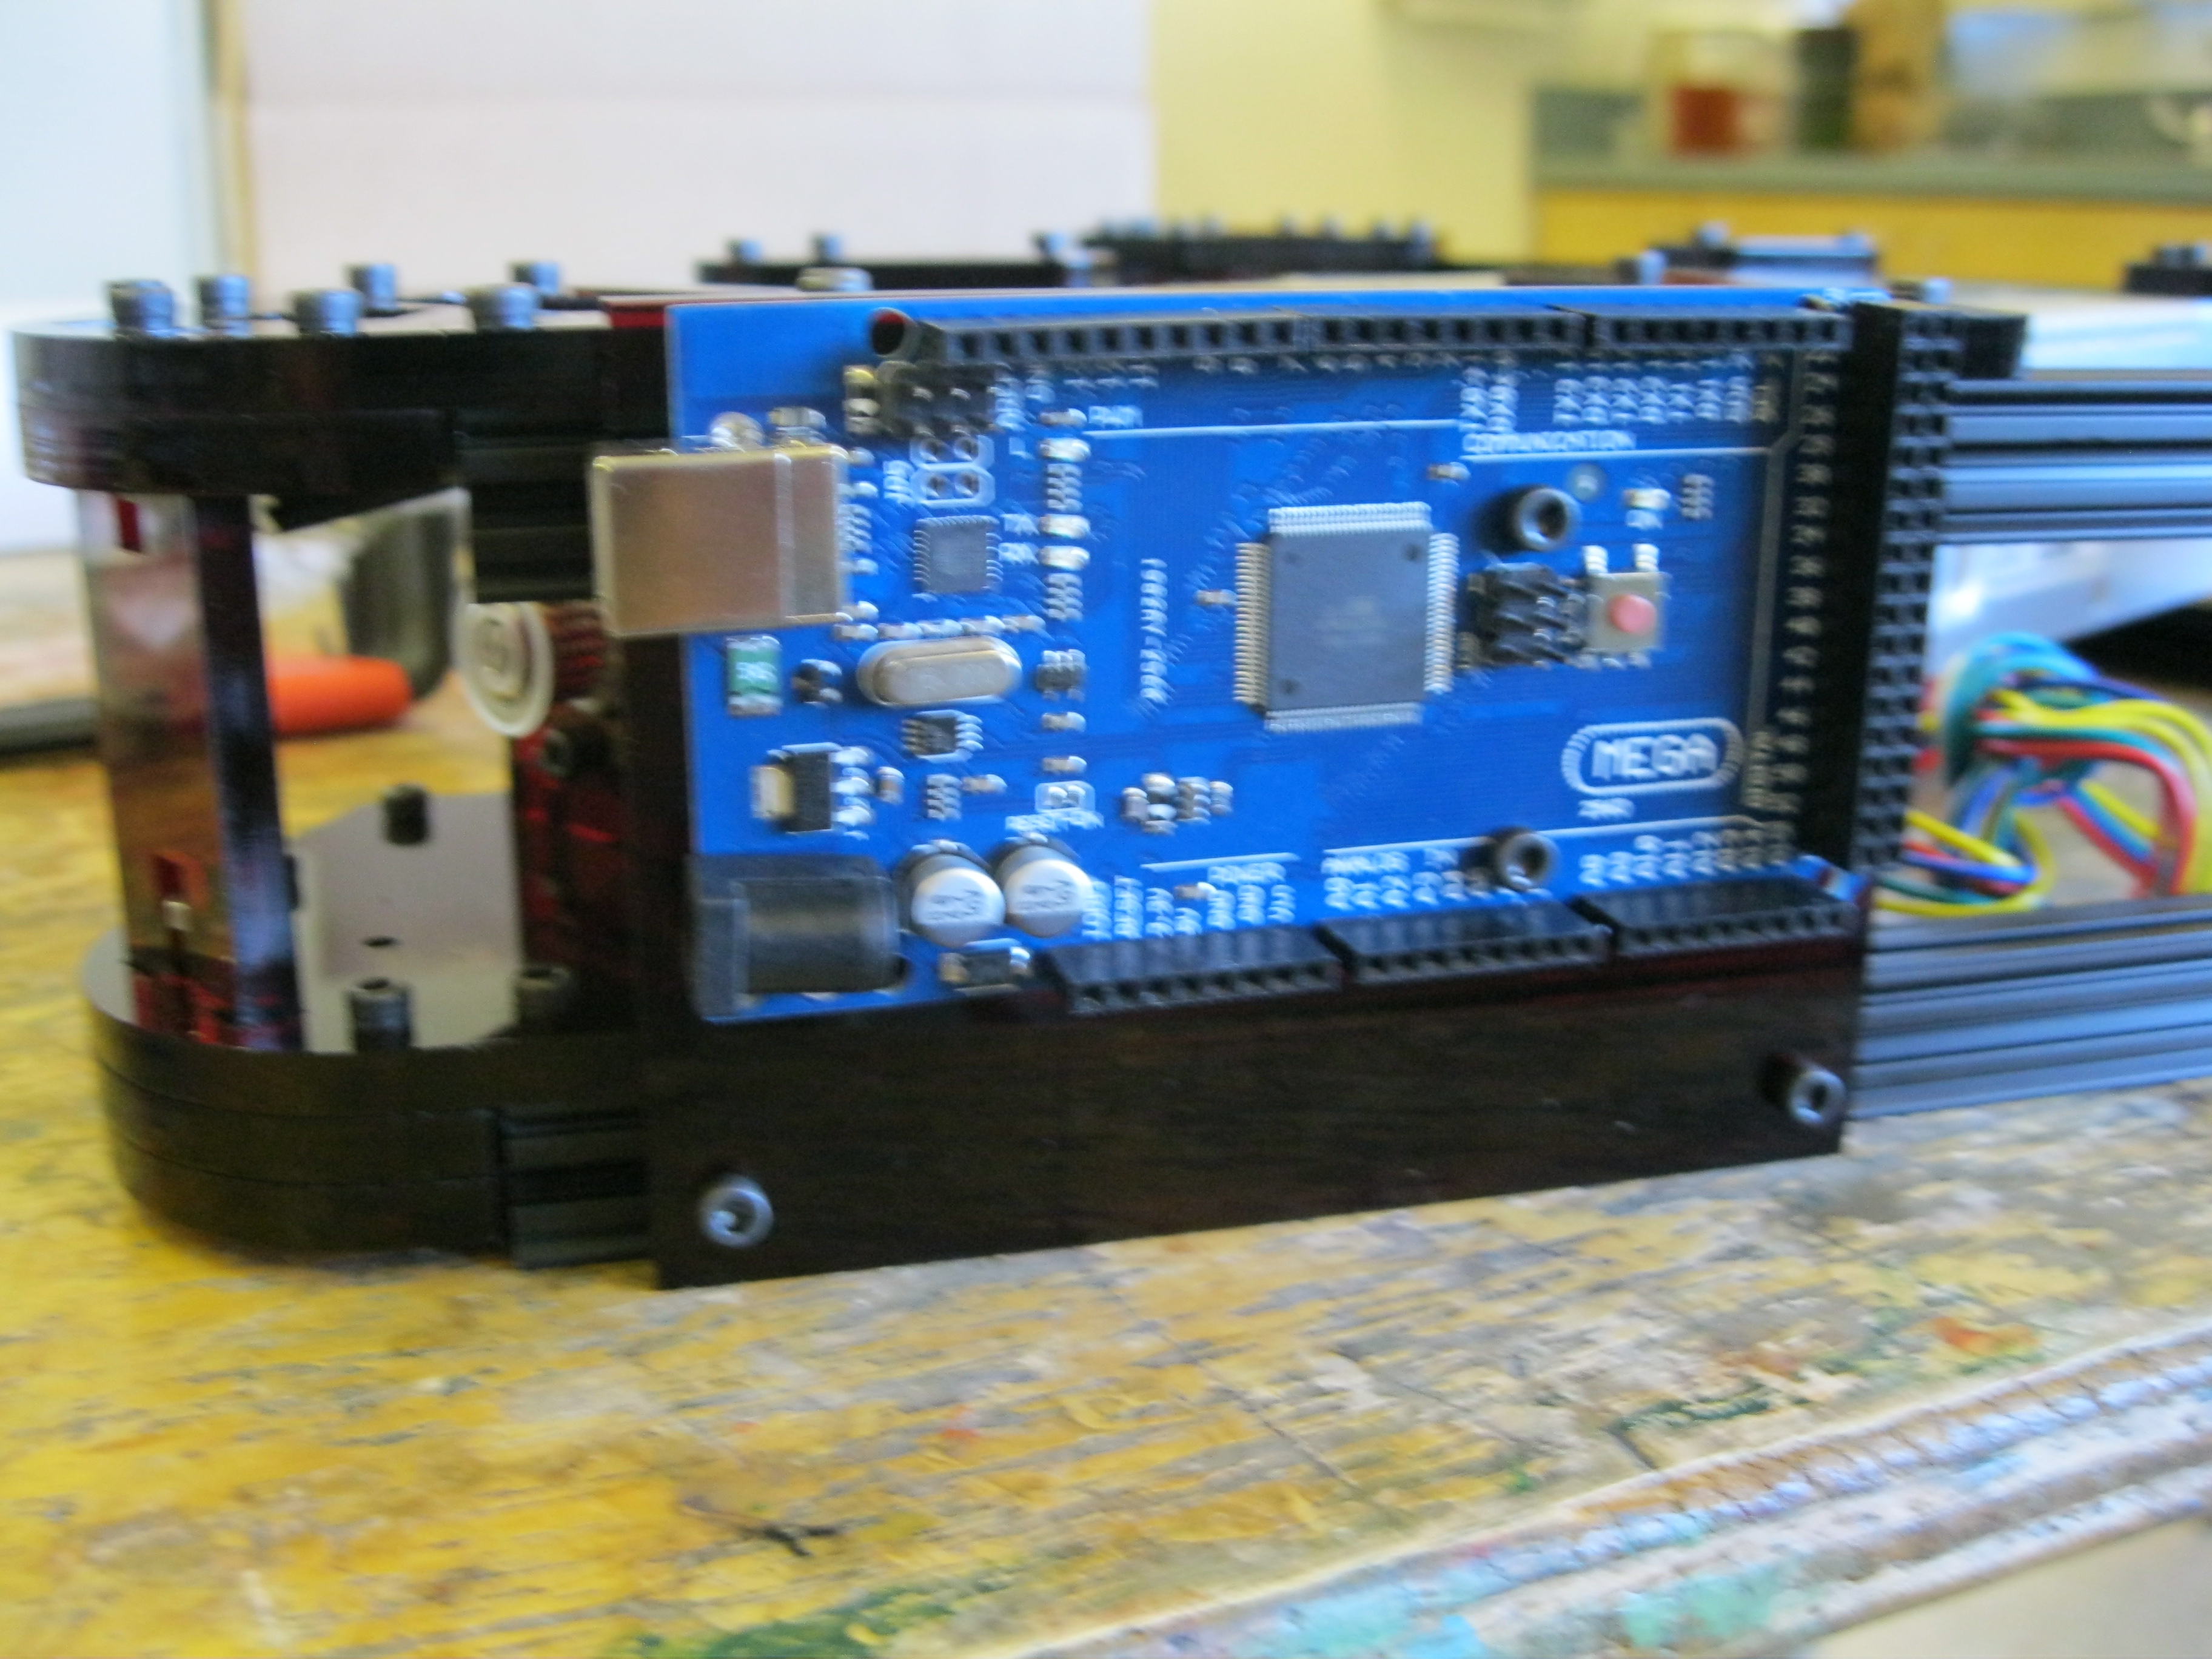
 -Mounted Arduino
Problems we encountered
-On the last bar of the base it was a bit difficult to line up the nuts. We found that it helped to have two people and have each person on a nut to do both sides at the same time.
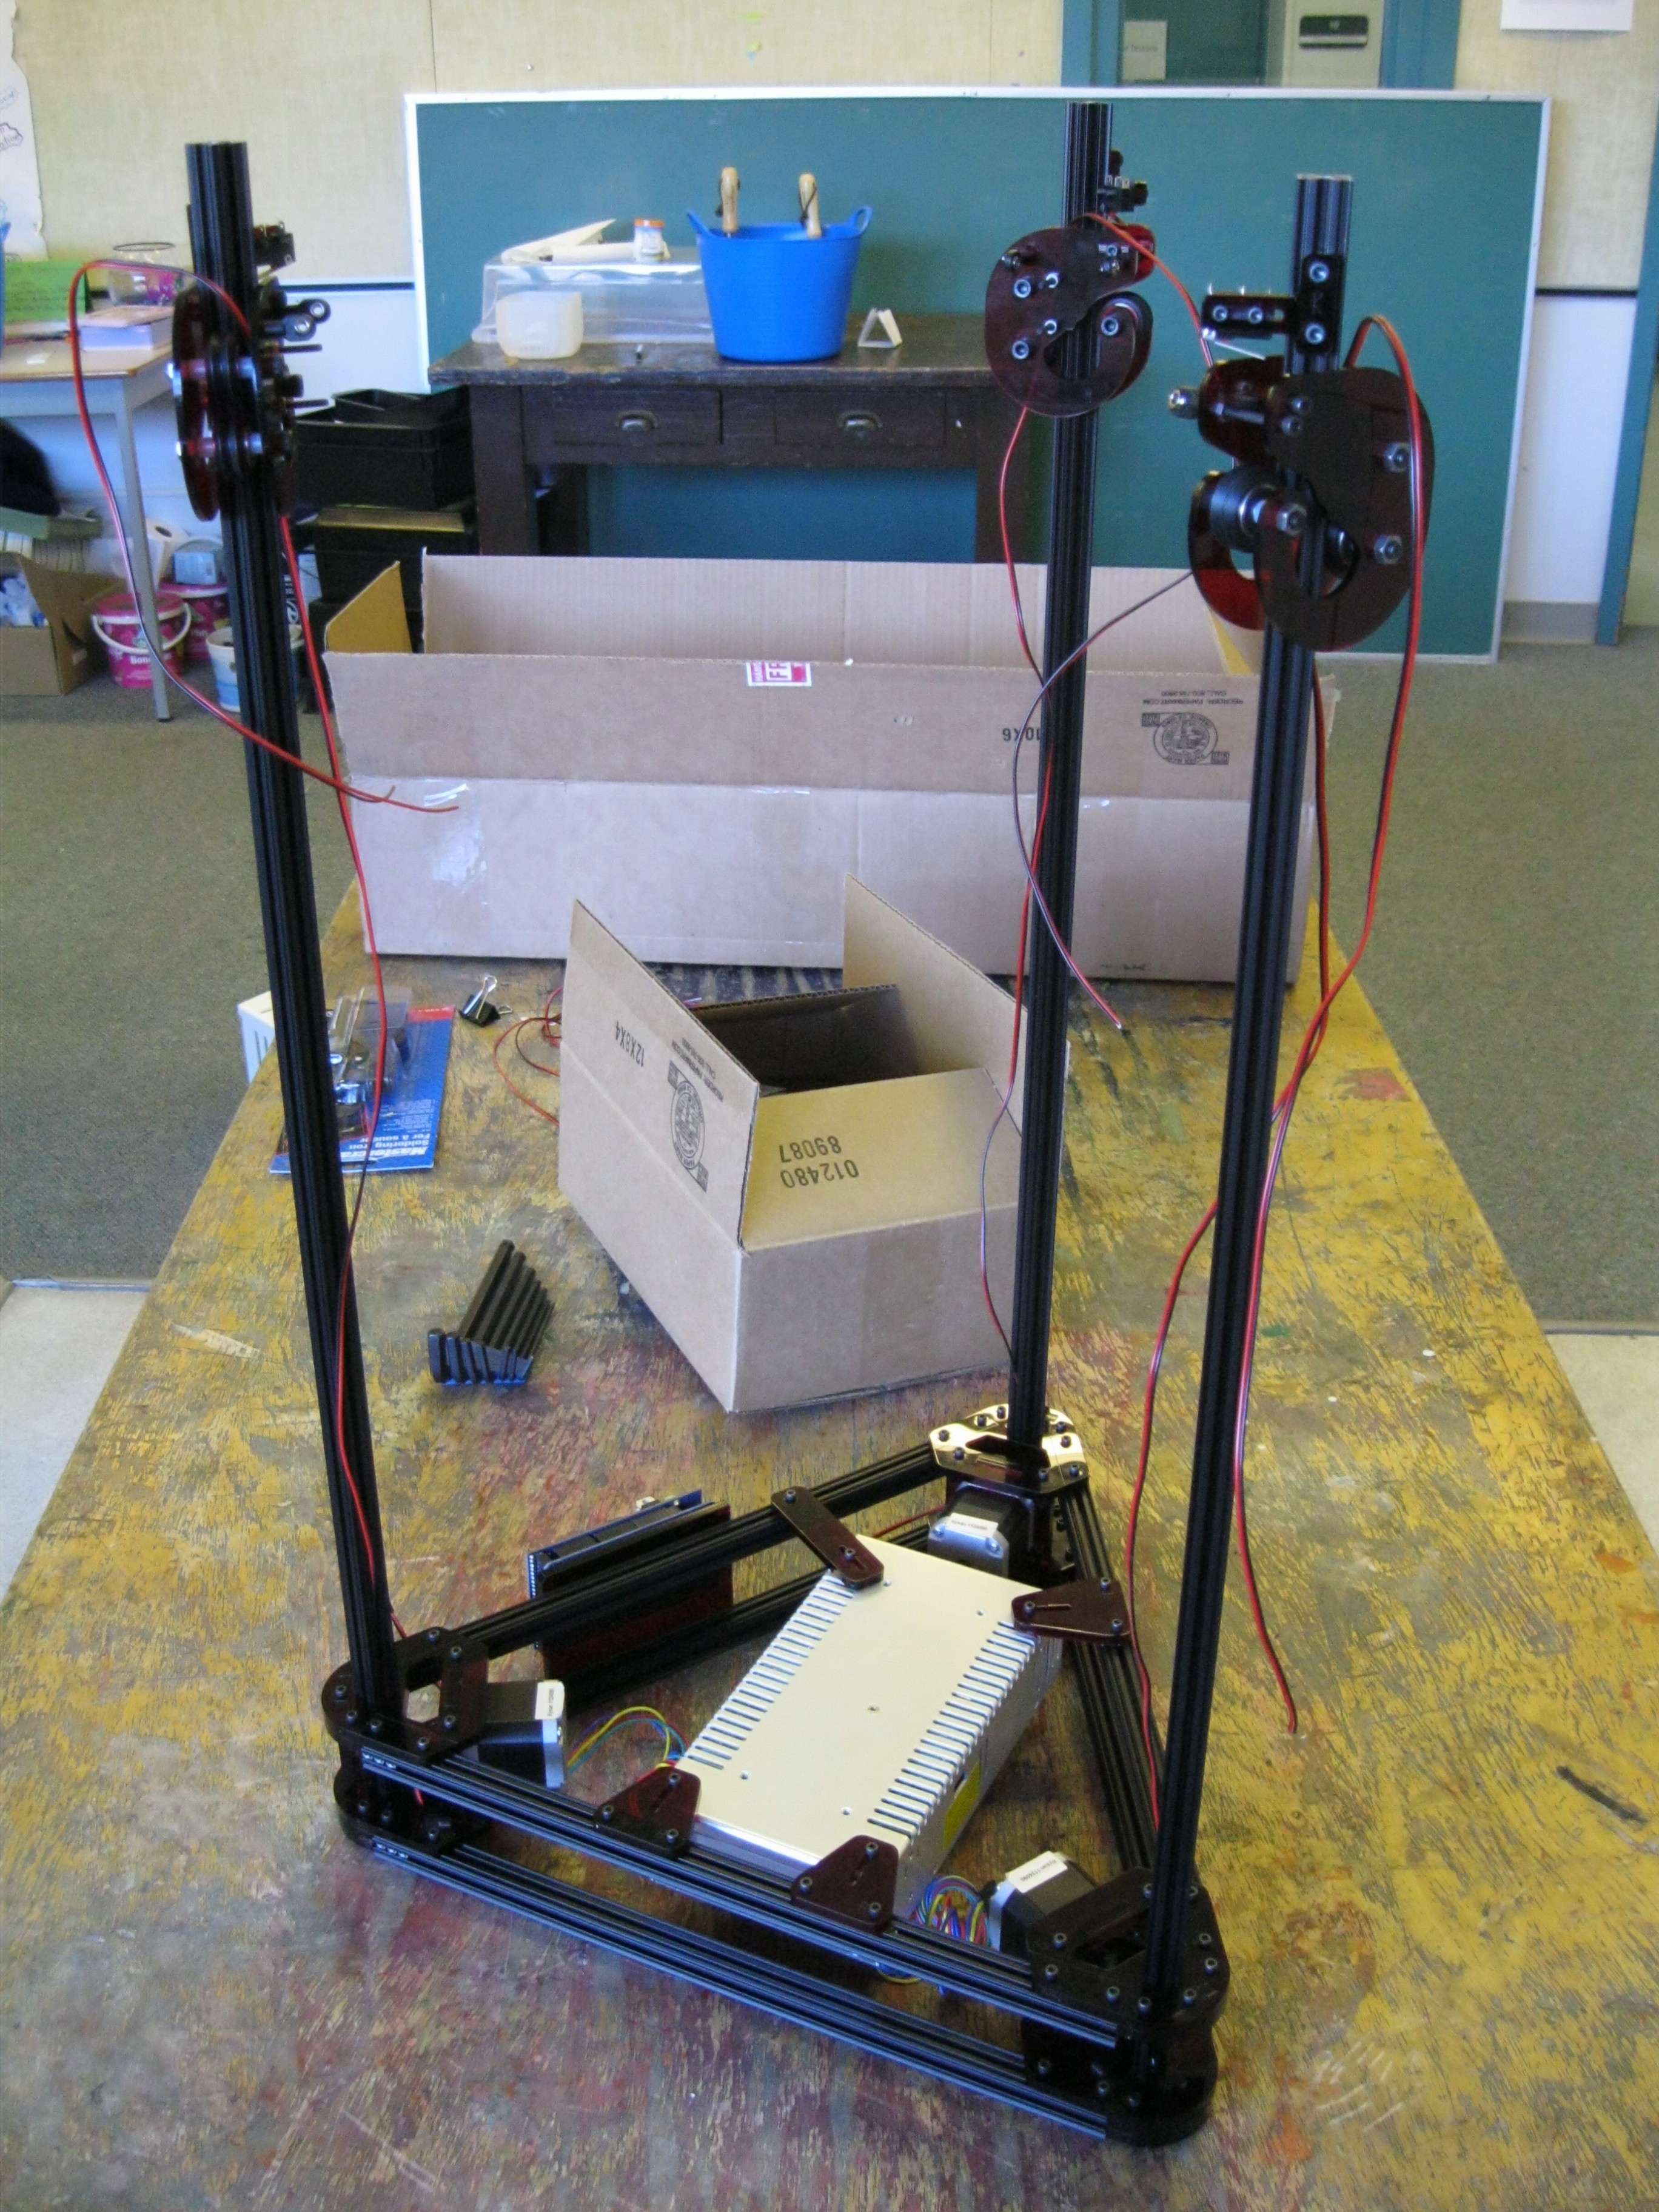
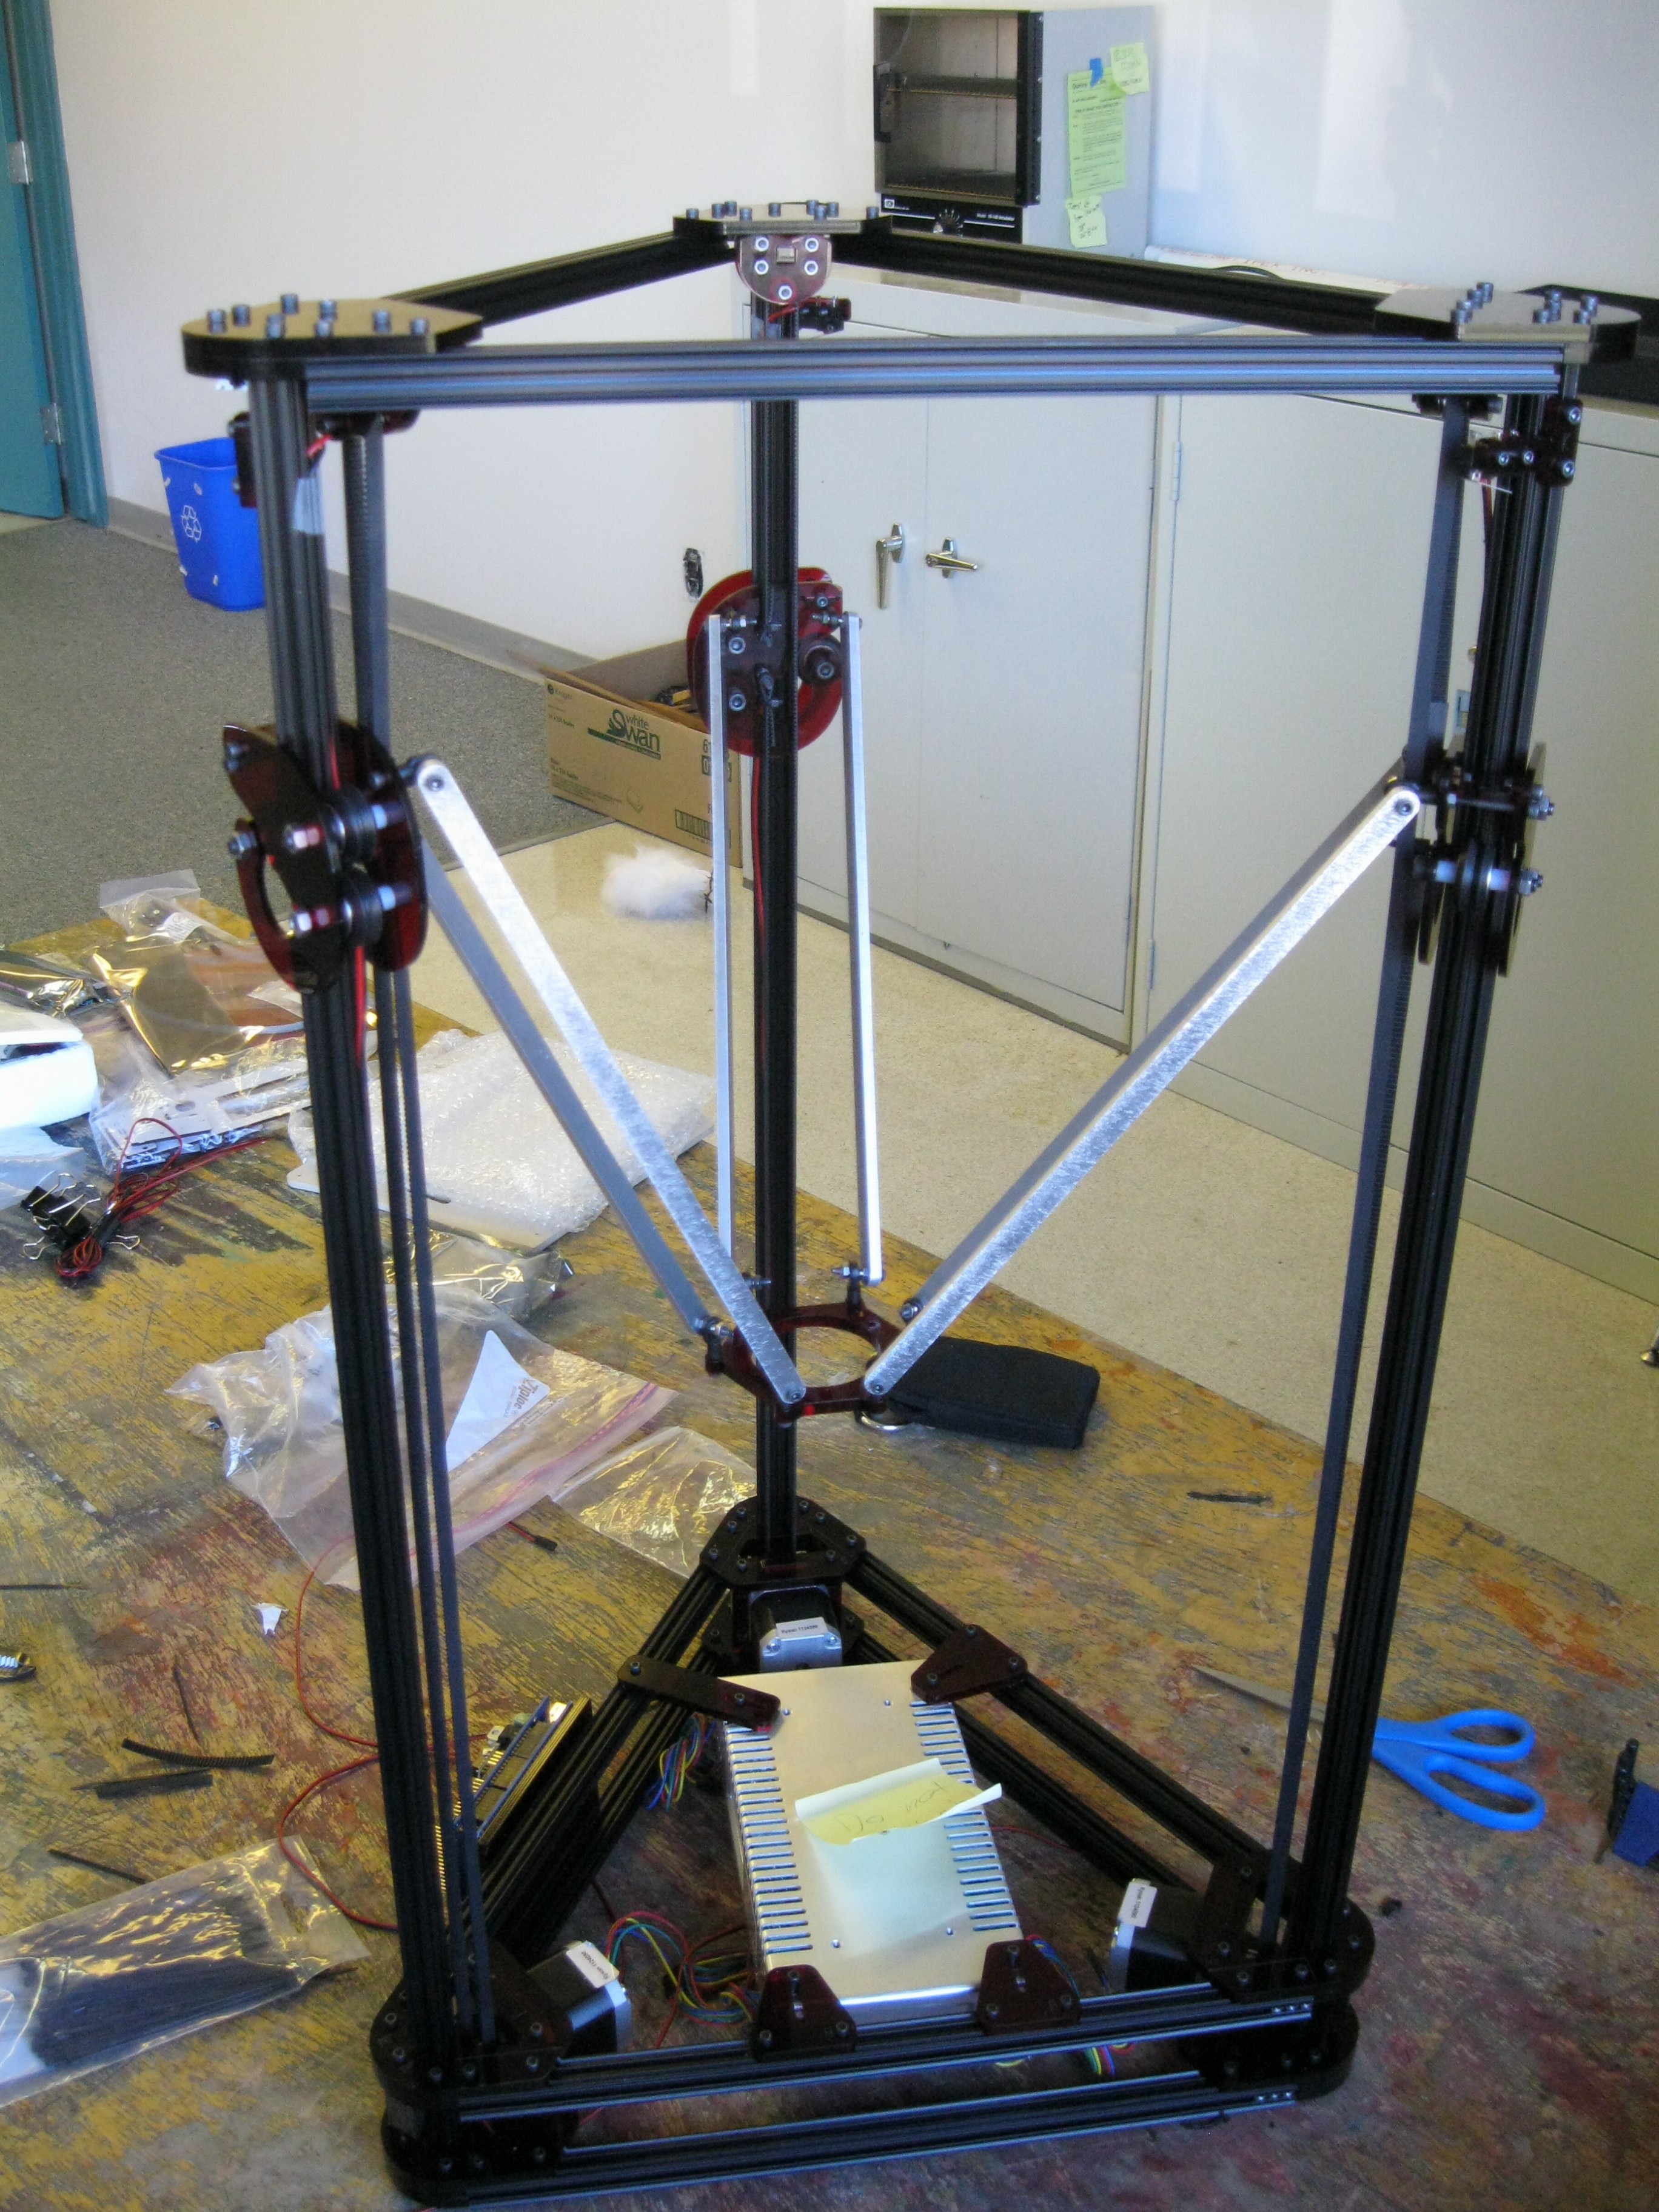
Put the three vertical beam on, mounted the sensor and assembled the top bracket.
-Attached the three vertical beams
-Mounted the sensor
-Assembled the top bracket
Note: We used m3 10mm for ball joints of arm
-The video told us to mount the sensor on one way but the google groups suggested mounting it on the other way so we did.
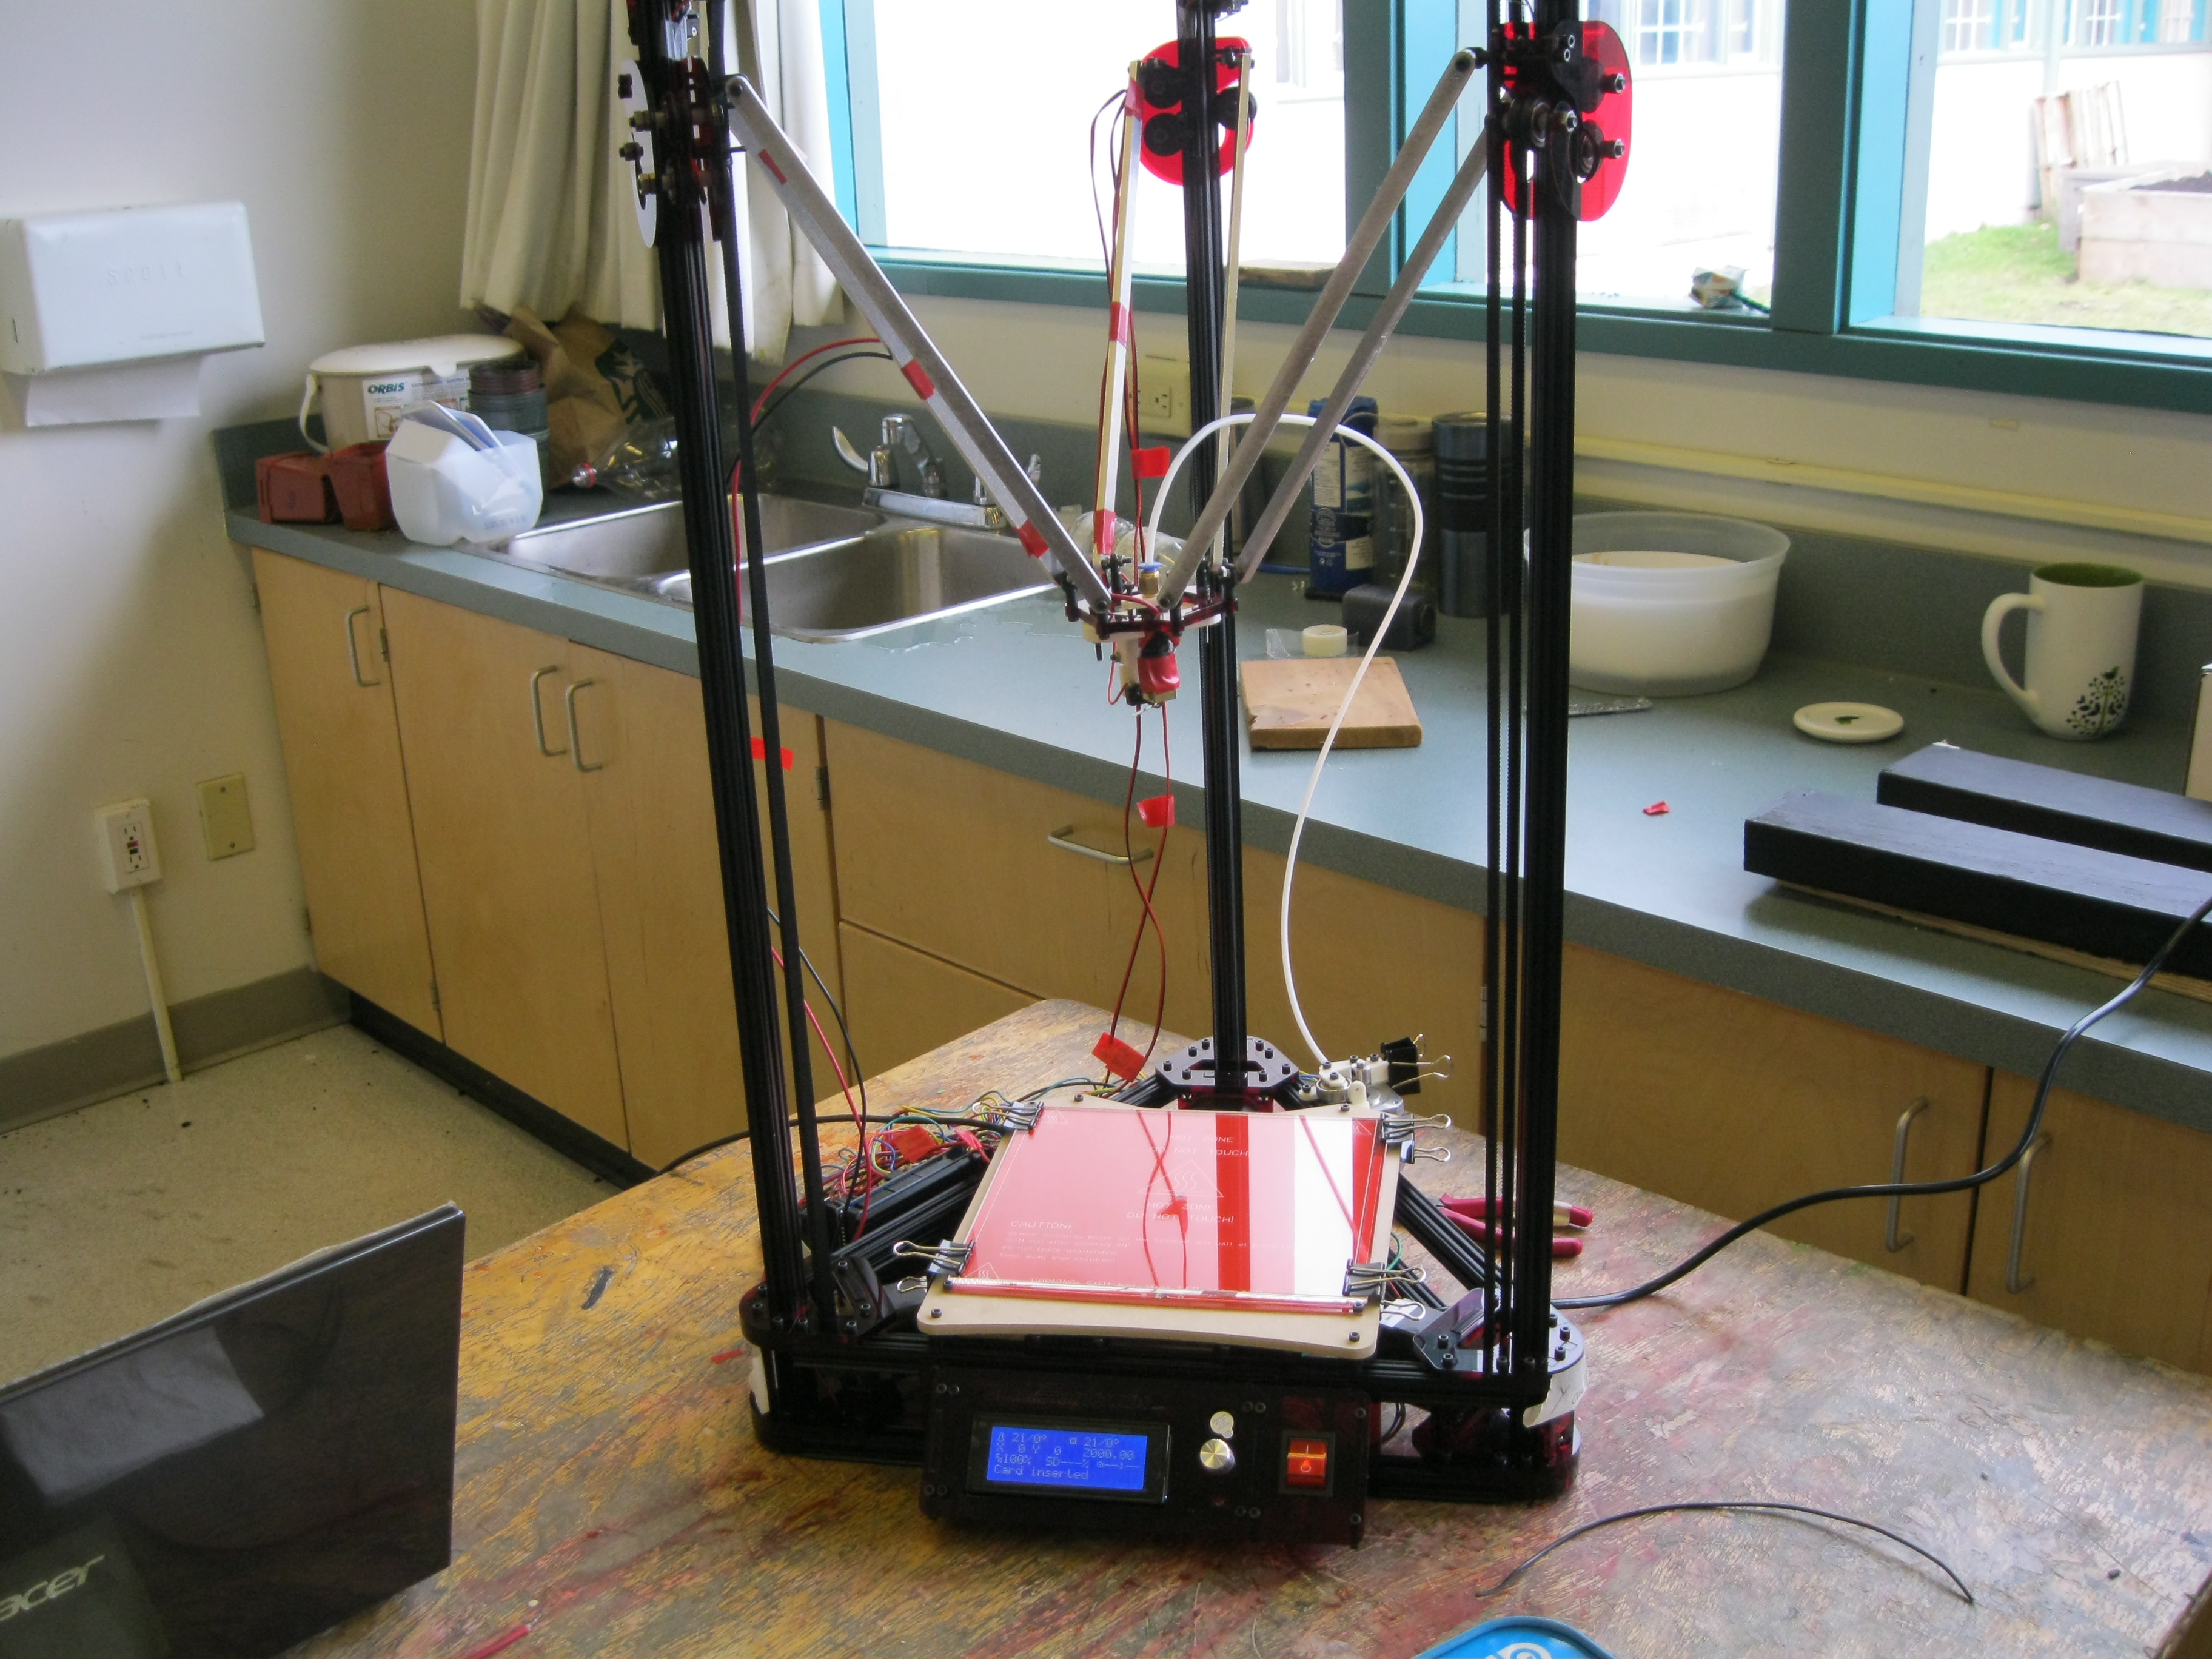
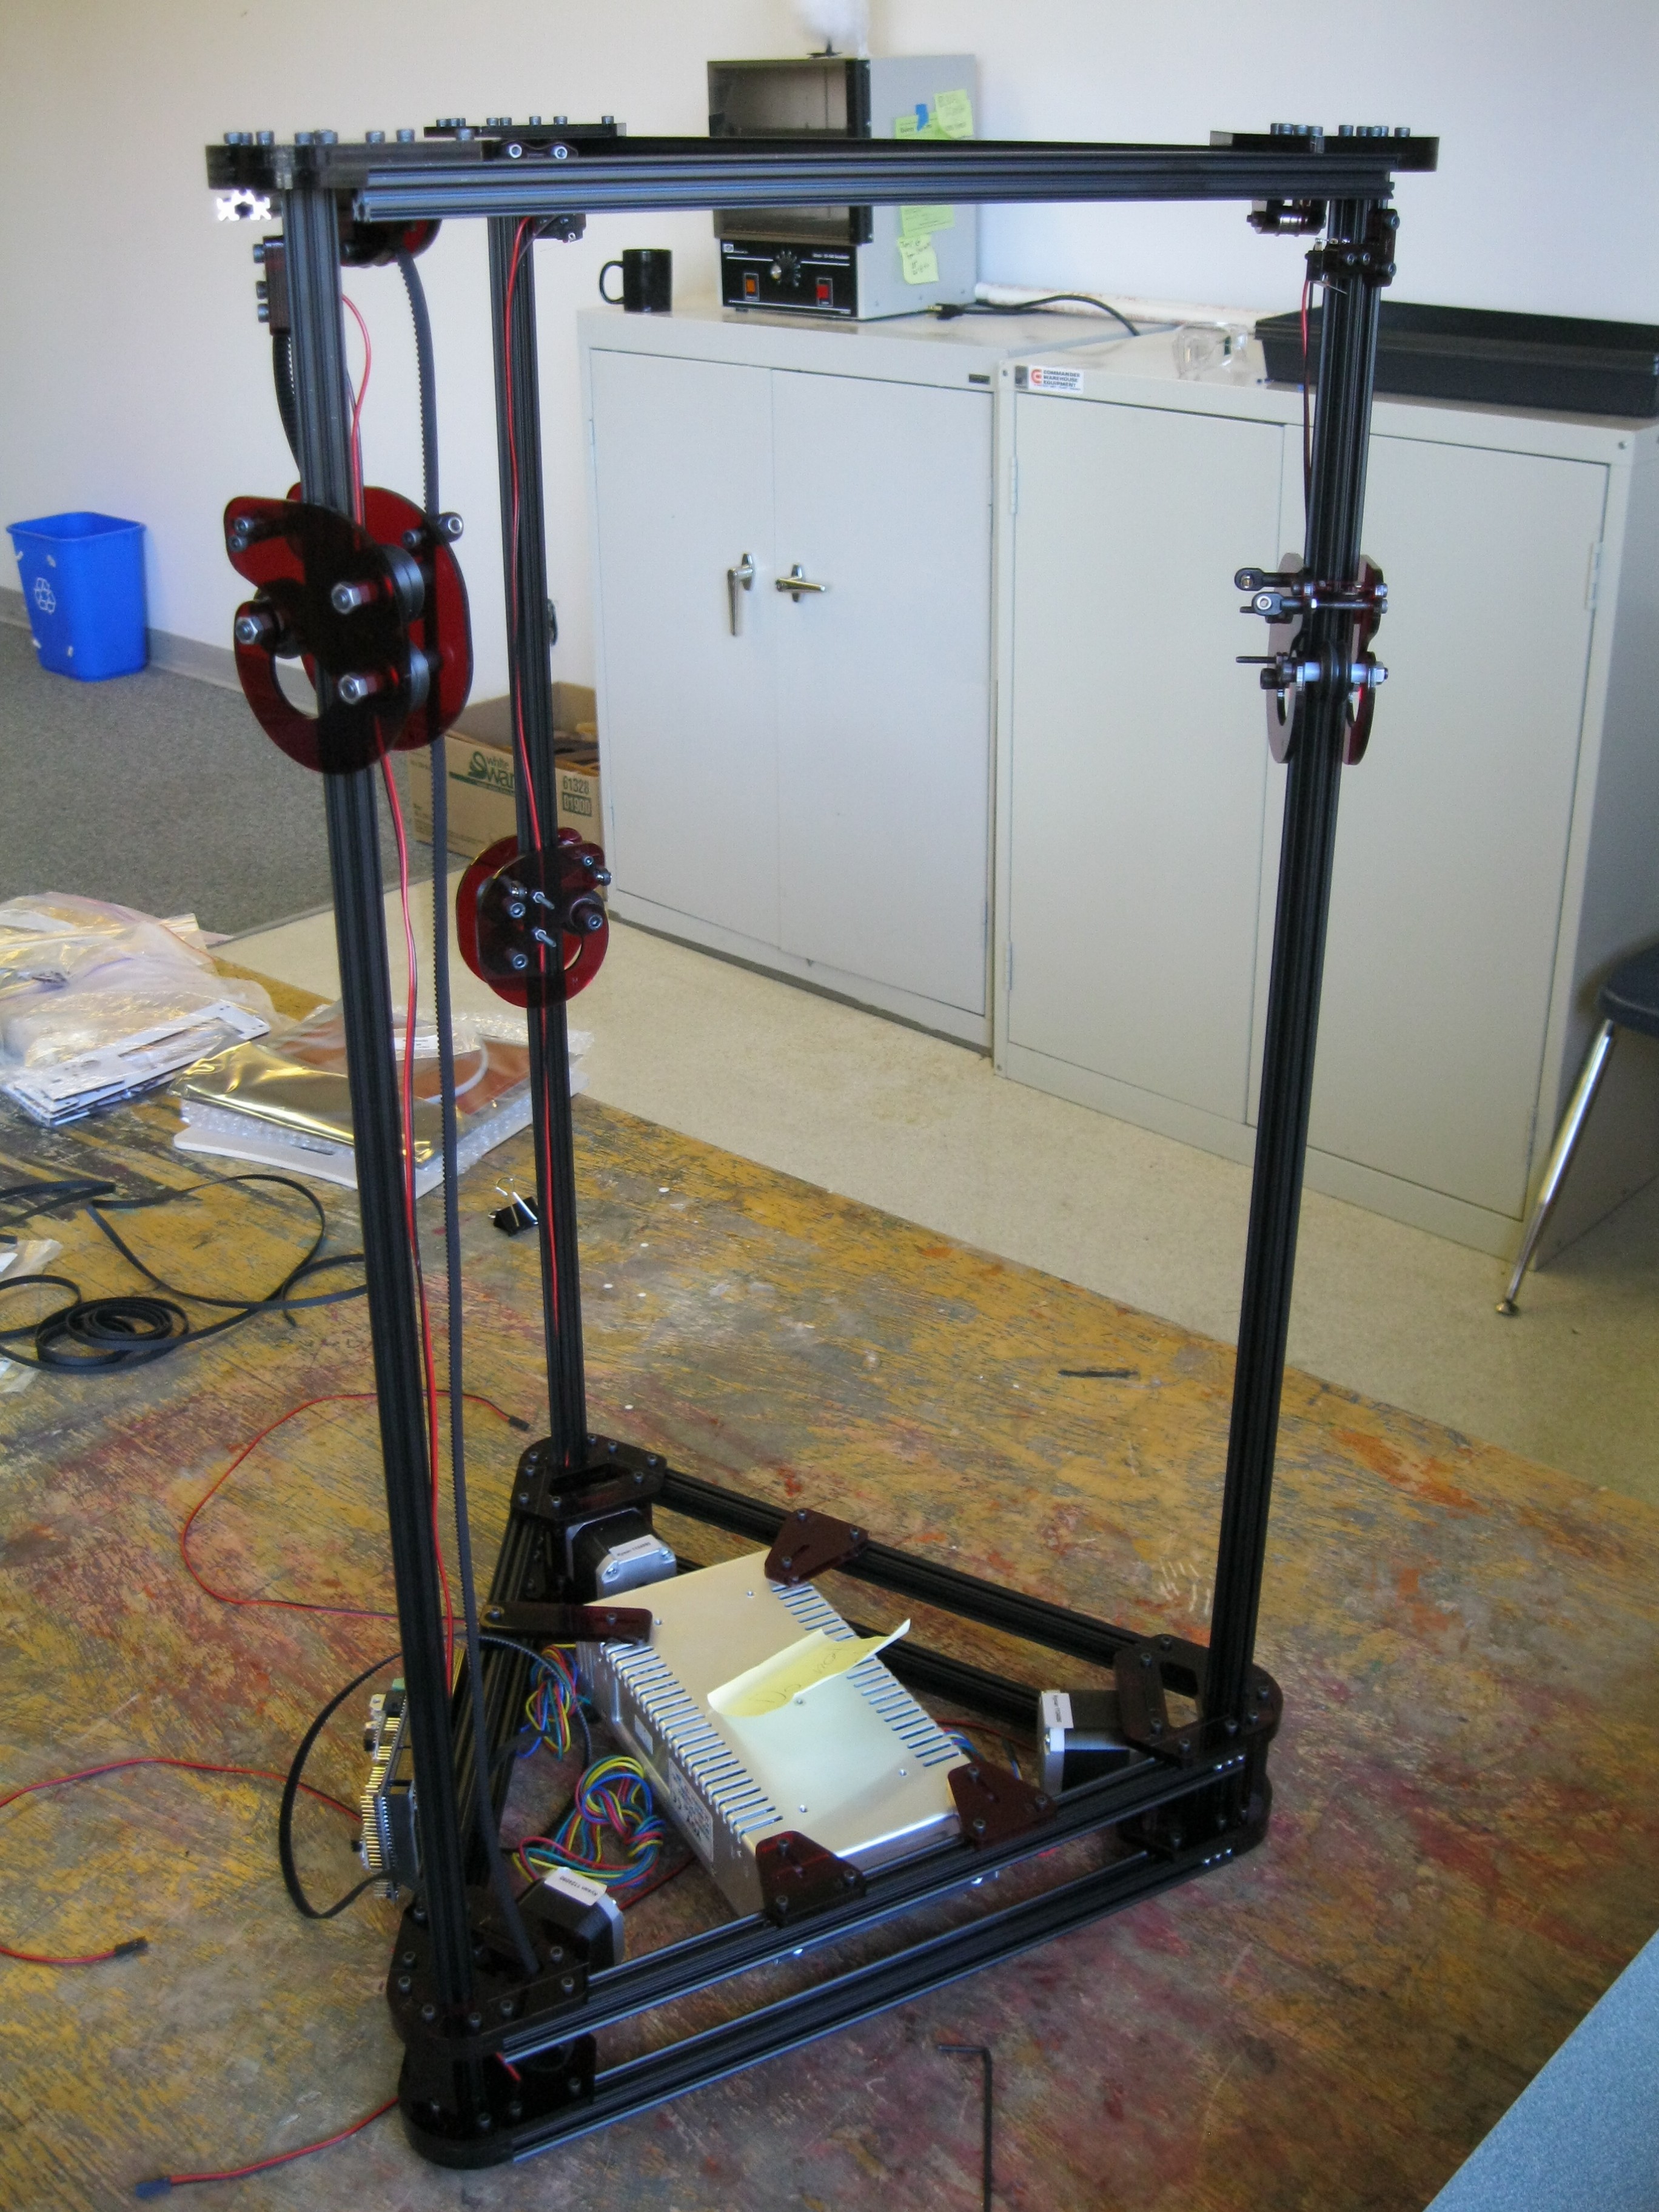
We have soldered the wires to the sensors, built the belt holder, put the top bracket on, and attached the three arms. We have also assembled the extruder. Also, we have attached the wires to the board.
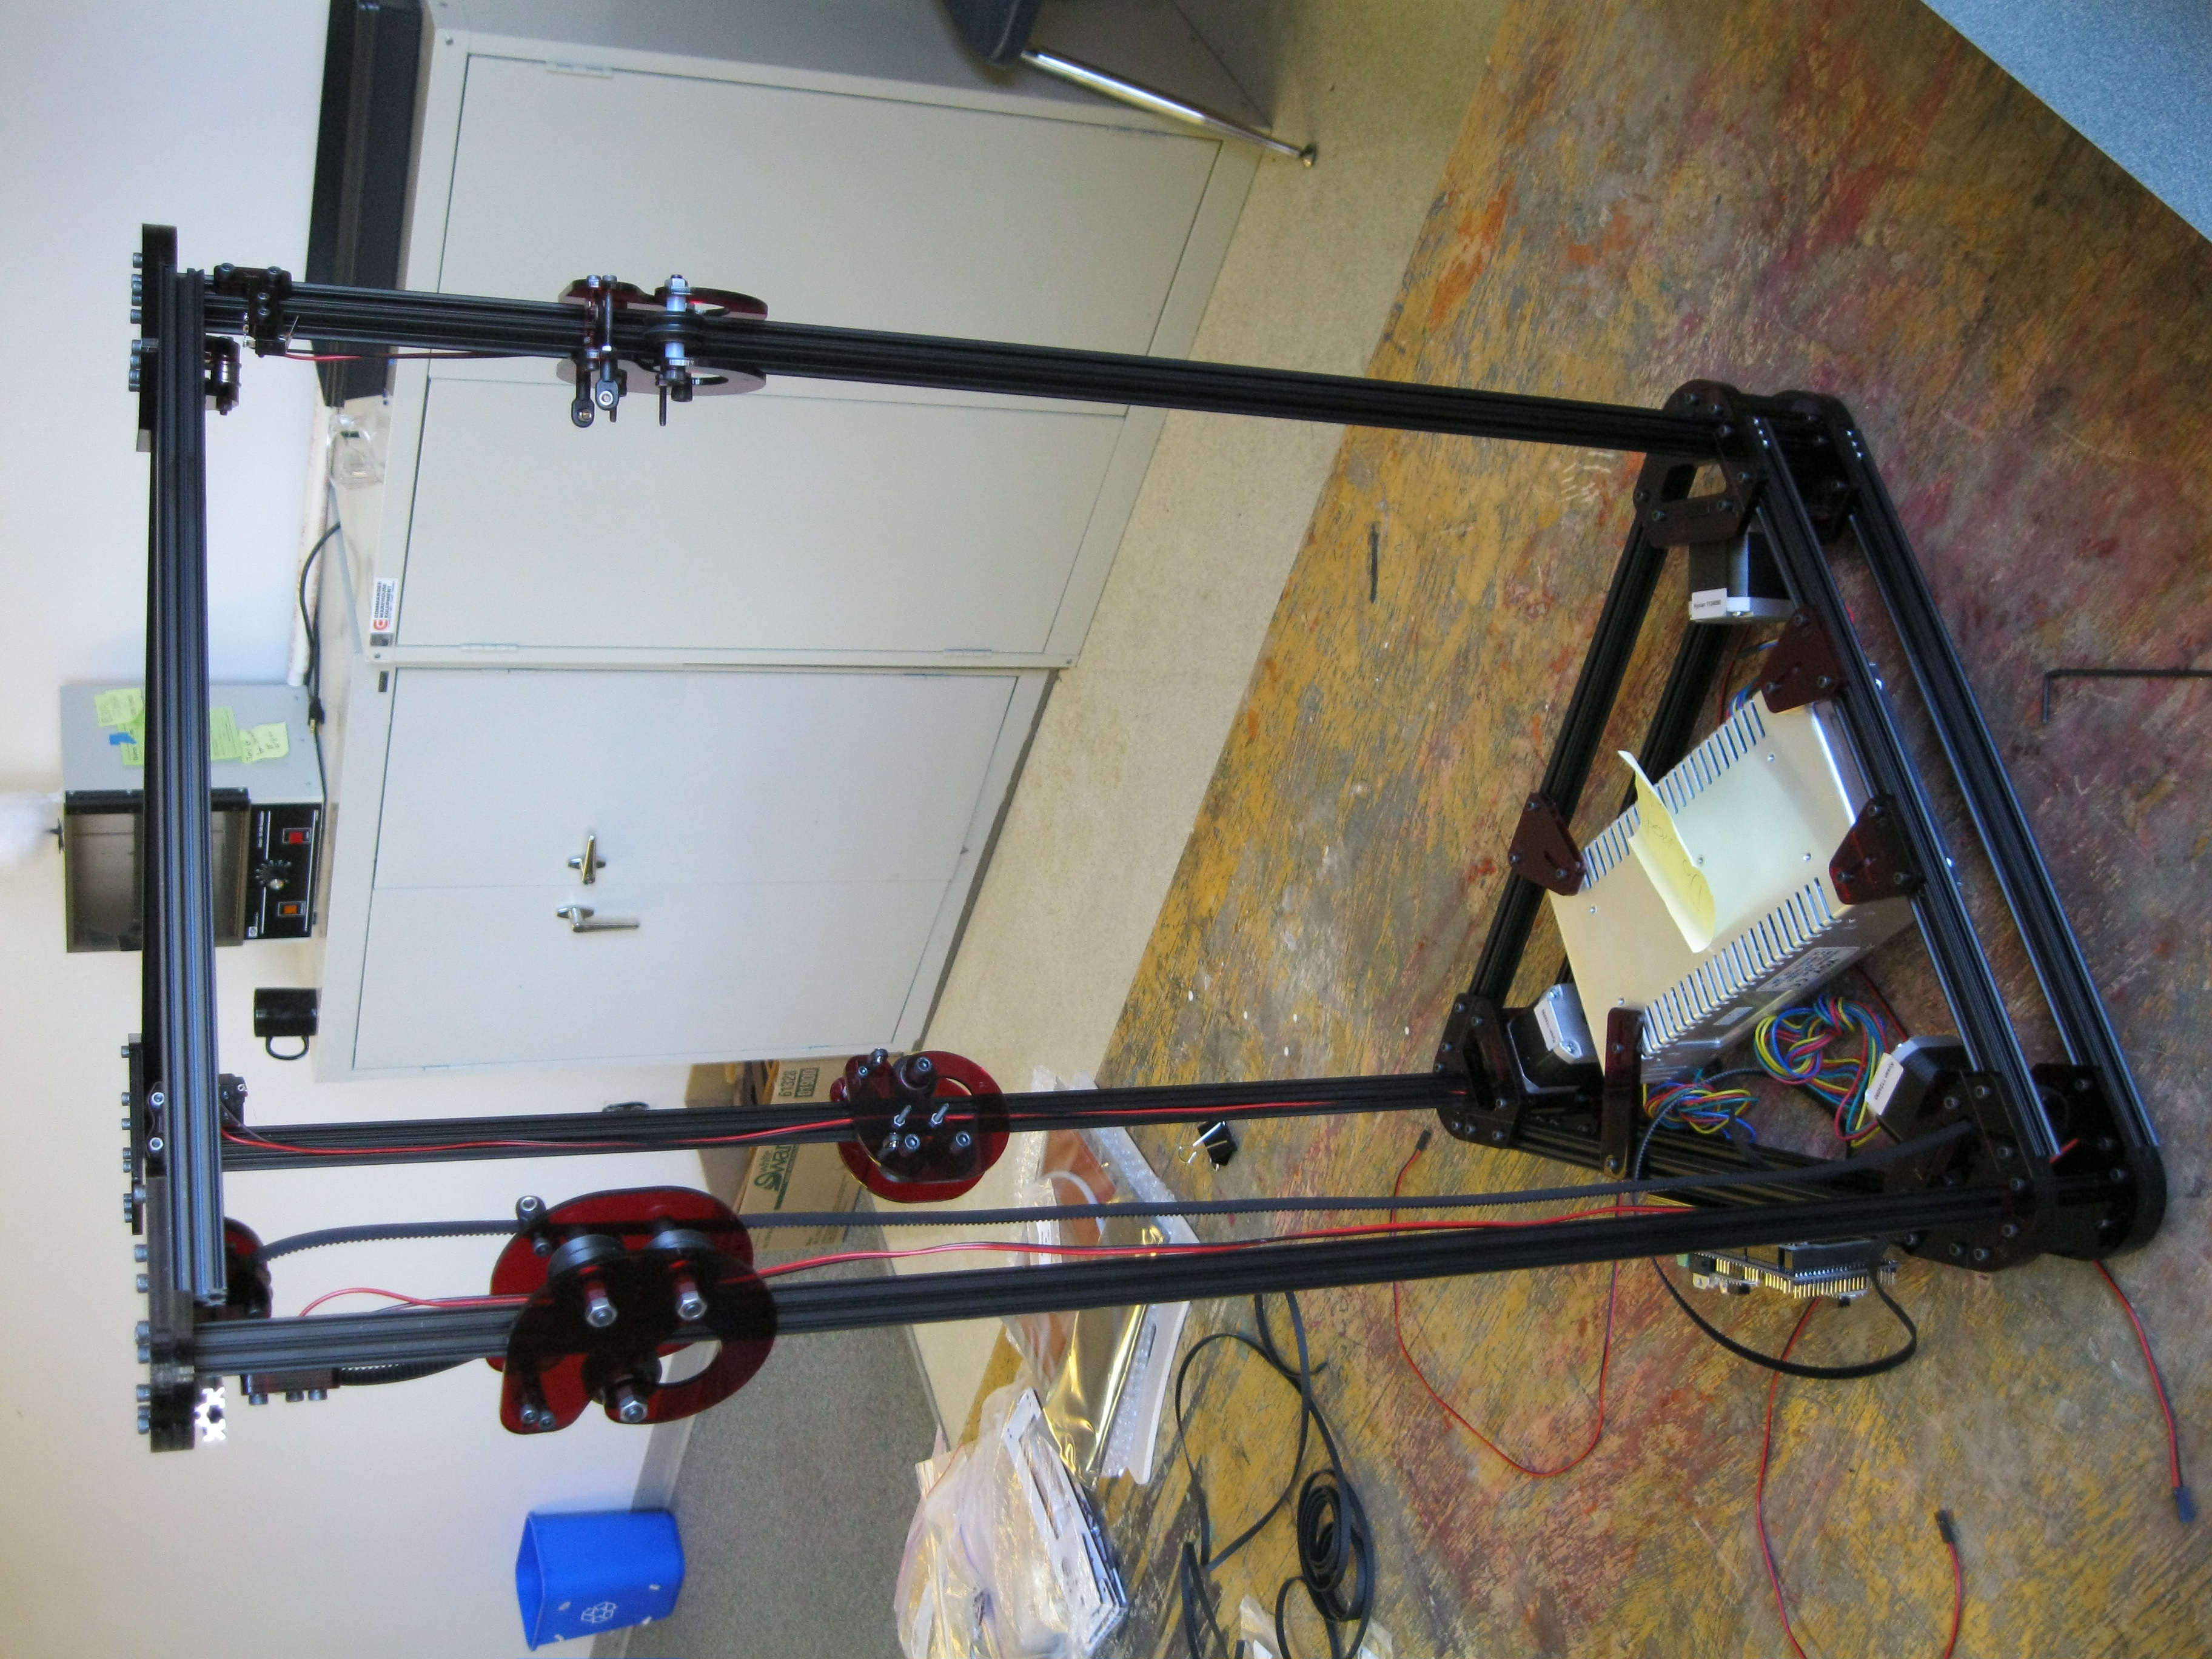
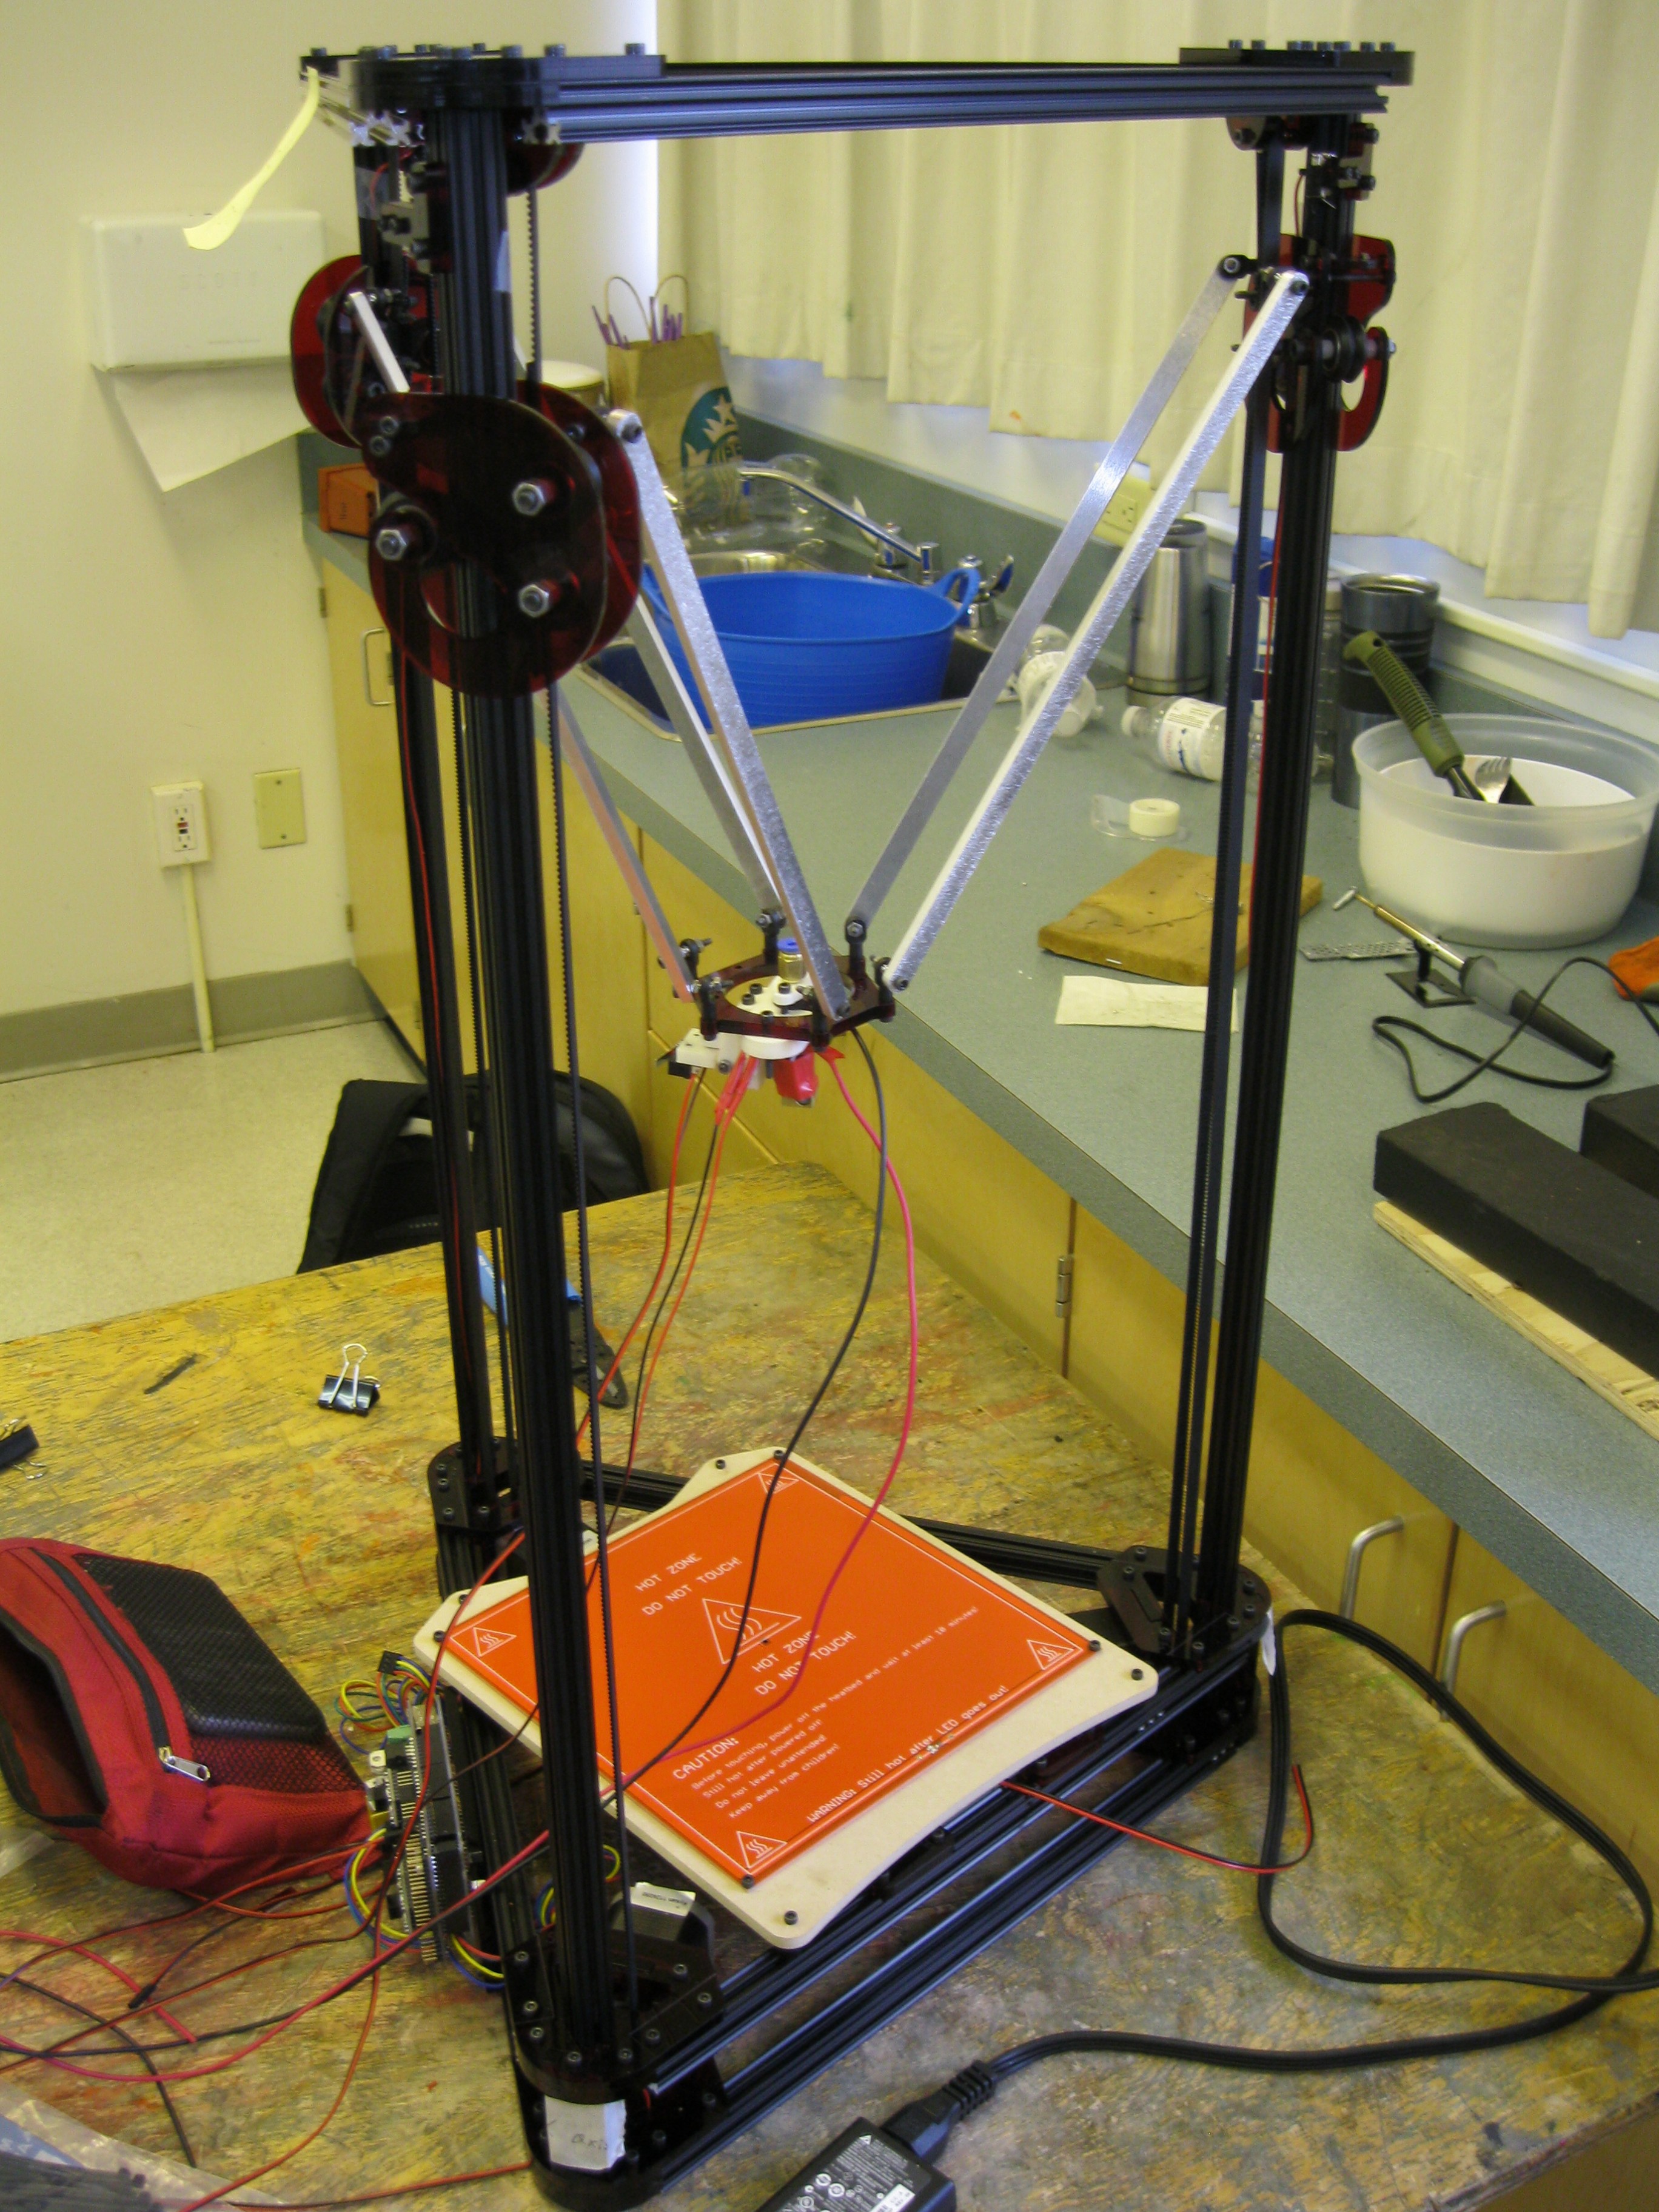 After a couple of weeks of construction,this was the final result.